
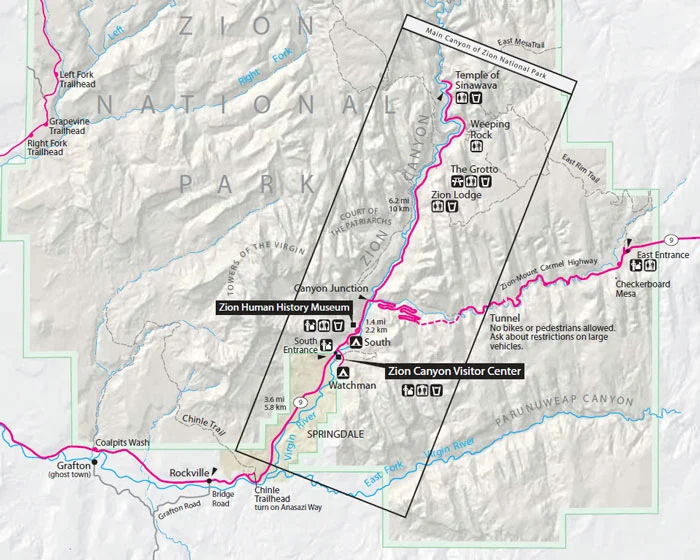
White and Red sandstone formations, narrow slot canyons, the Virgin River, and 3000 foot vertical walls make this popular national park one of our favorite camper van destinations. Where should you camp? What trails should you hike? Do you need permits? Katie and Alex rented the Mad Hatter and drove out this summer to see it for themselves. Keep reading for a first-hand account of the trip!
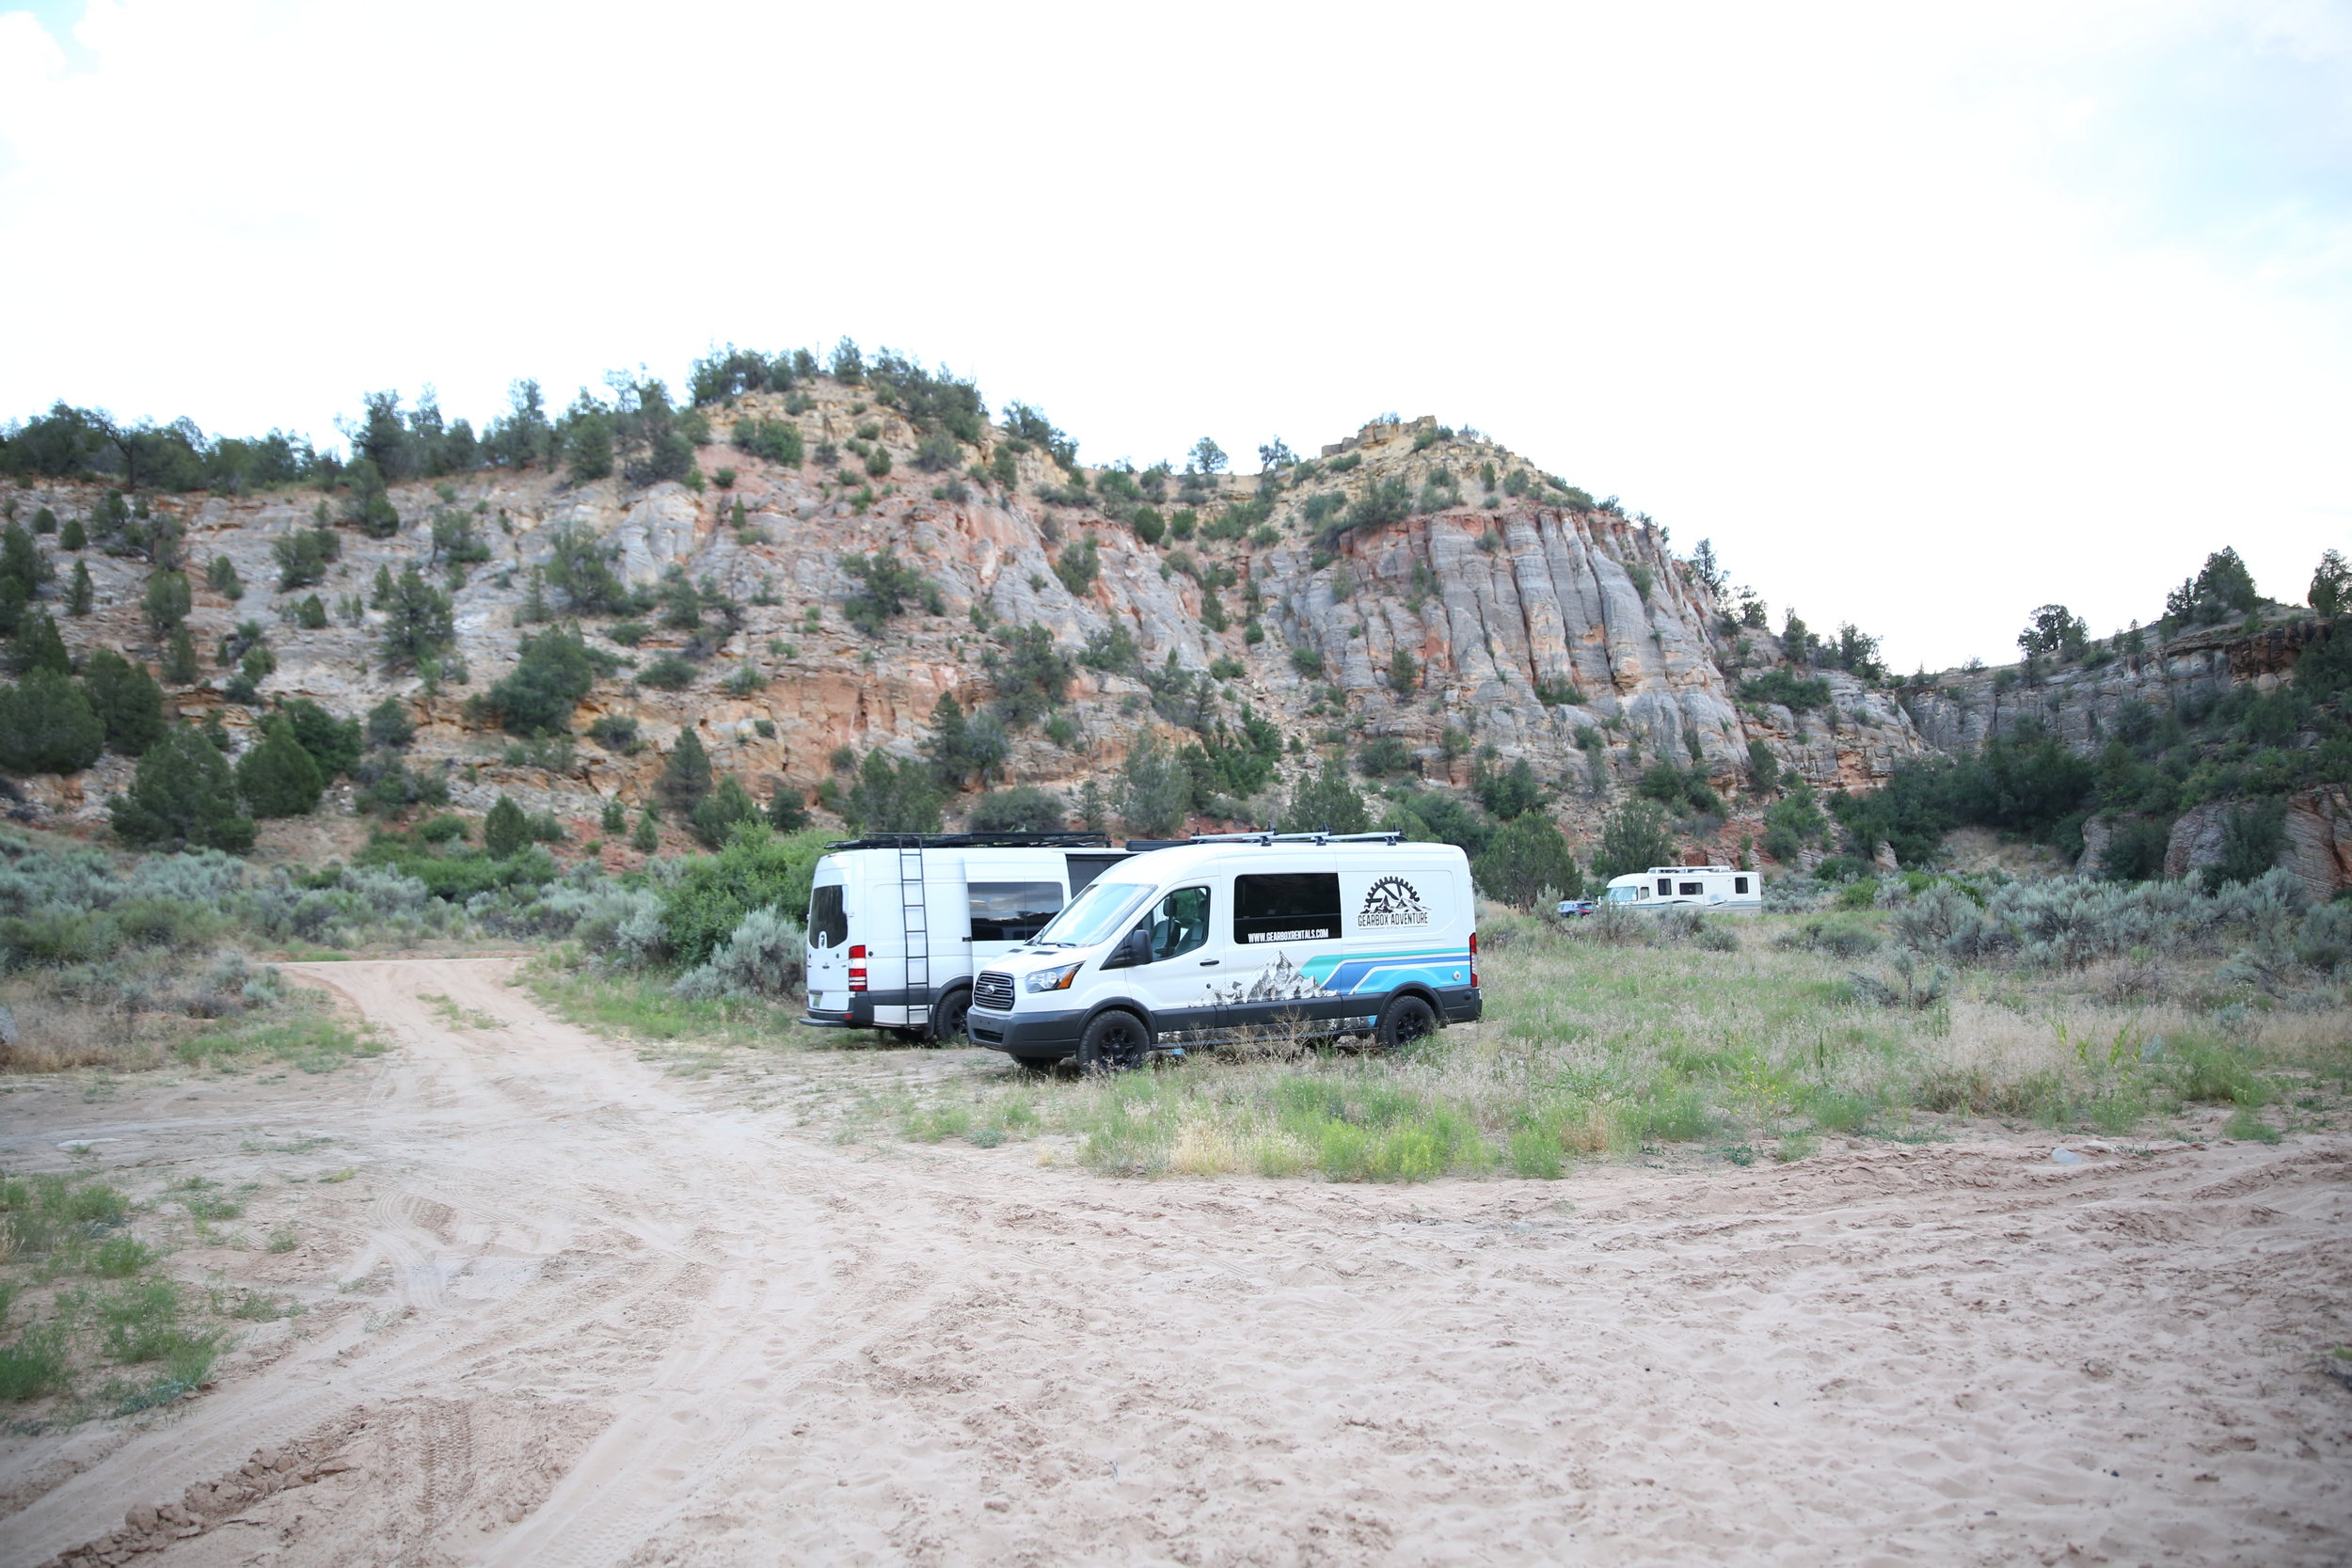
Day 1 : We left Birmingham and drove 14 hours to Amarillo, TX and parked in a Flying J truck stop parking lot. We LOVED having everything in one place and not having to check in to a flight, check into hotels, etc. We could just pick up and go with all of out gear and park when we needed to.
Day 2 : We drove 12 hours to the East Entrance of Zion via Highway 9 and using the app iOverlander, parked in an incredible free spot we found just outside of the park.
Day 3 : Hike to Observation Point
ZNP Shuttle Stop: Weeping Rock
Length: 8 miles roundtrip
Elevation Gain: 2150 feet
Rating: Moderate to Strenuous
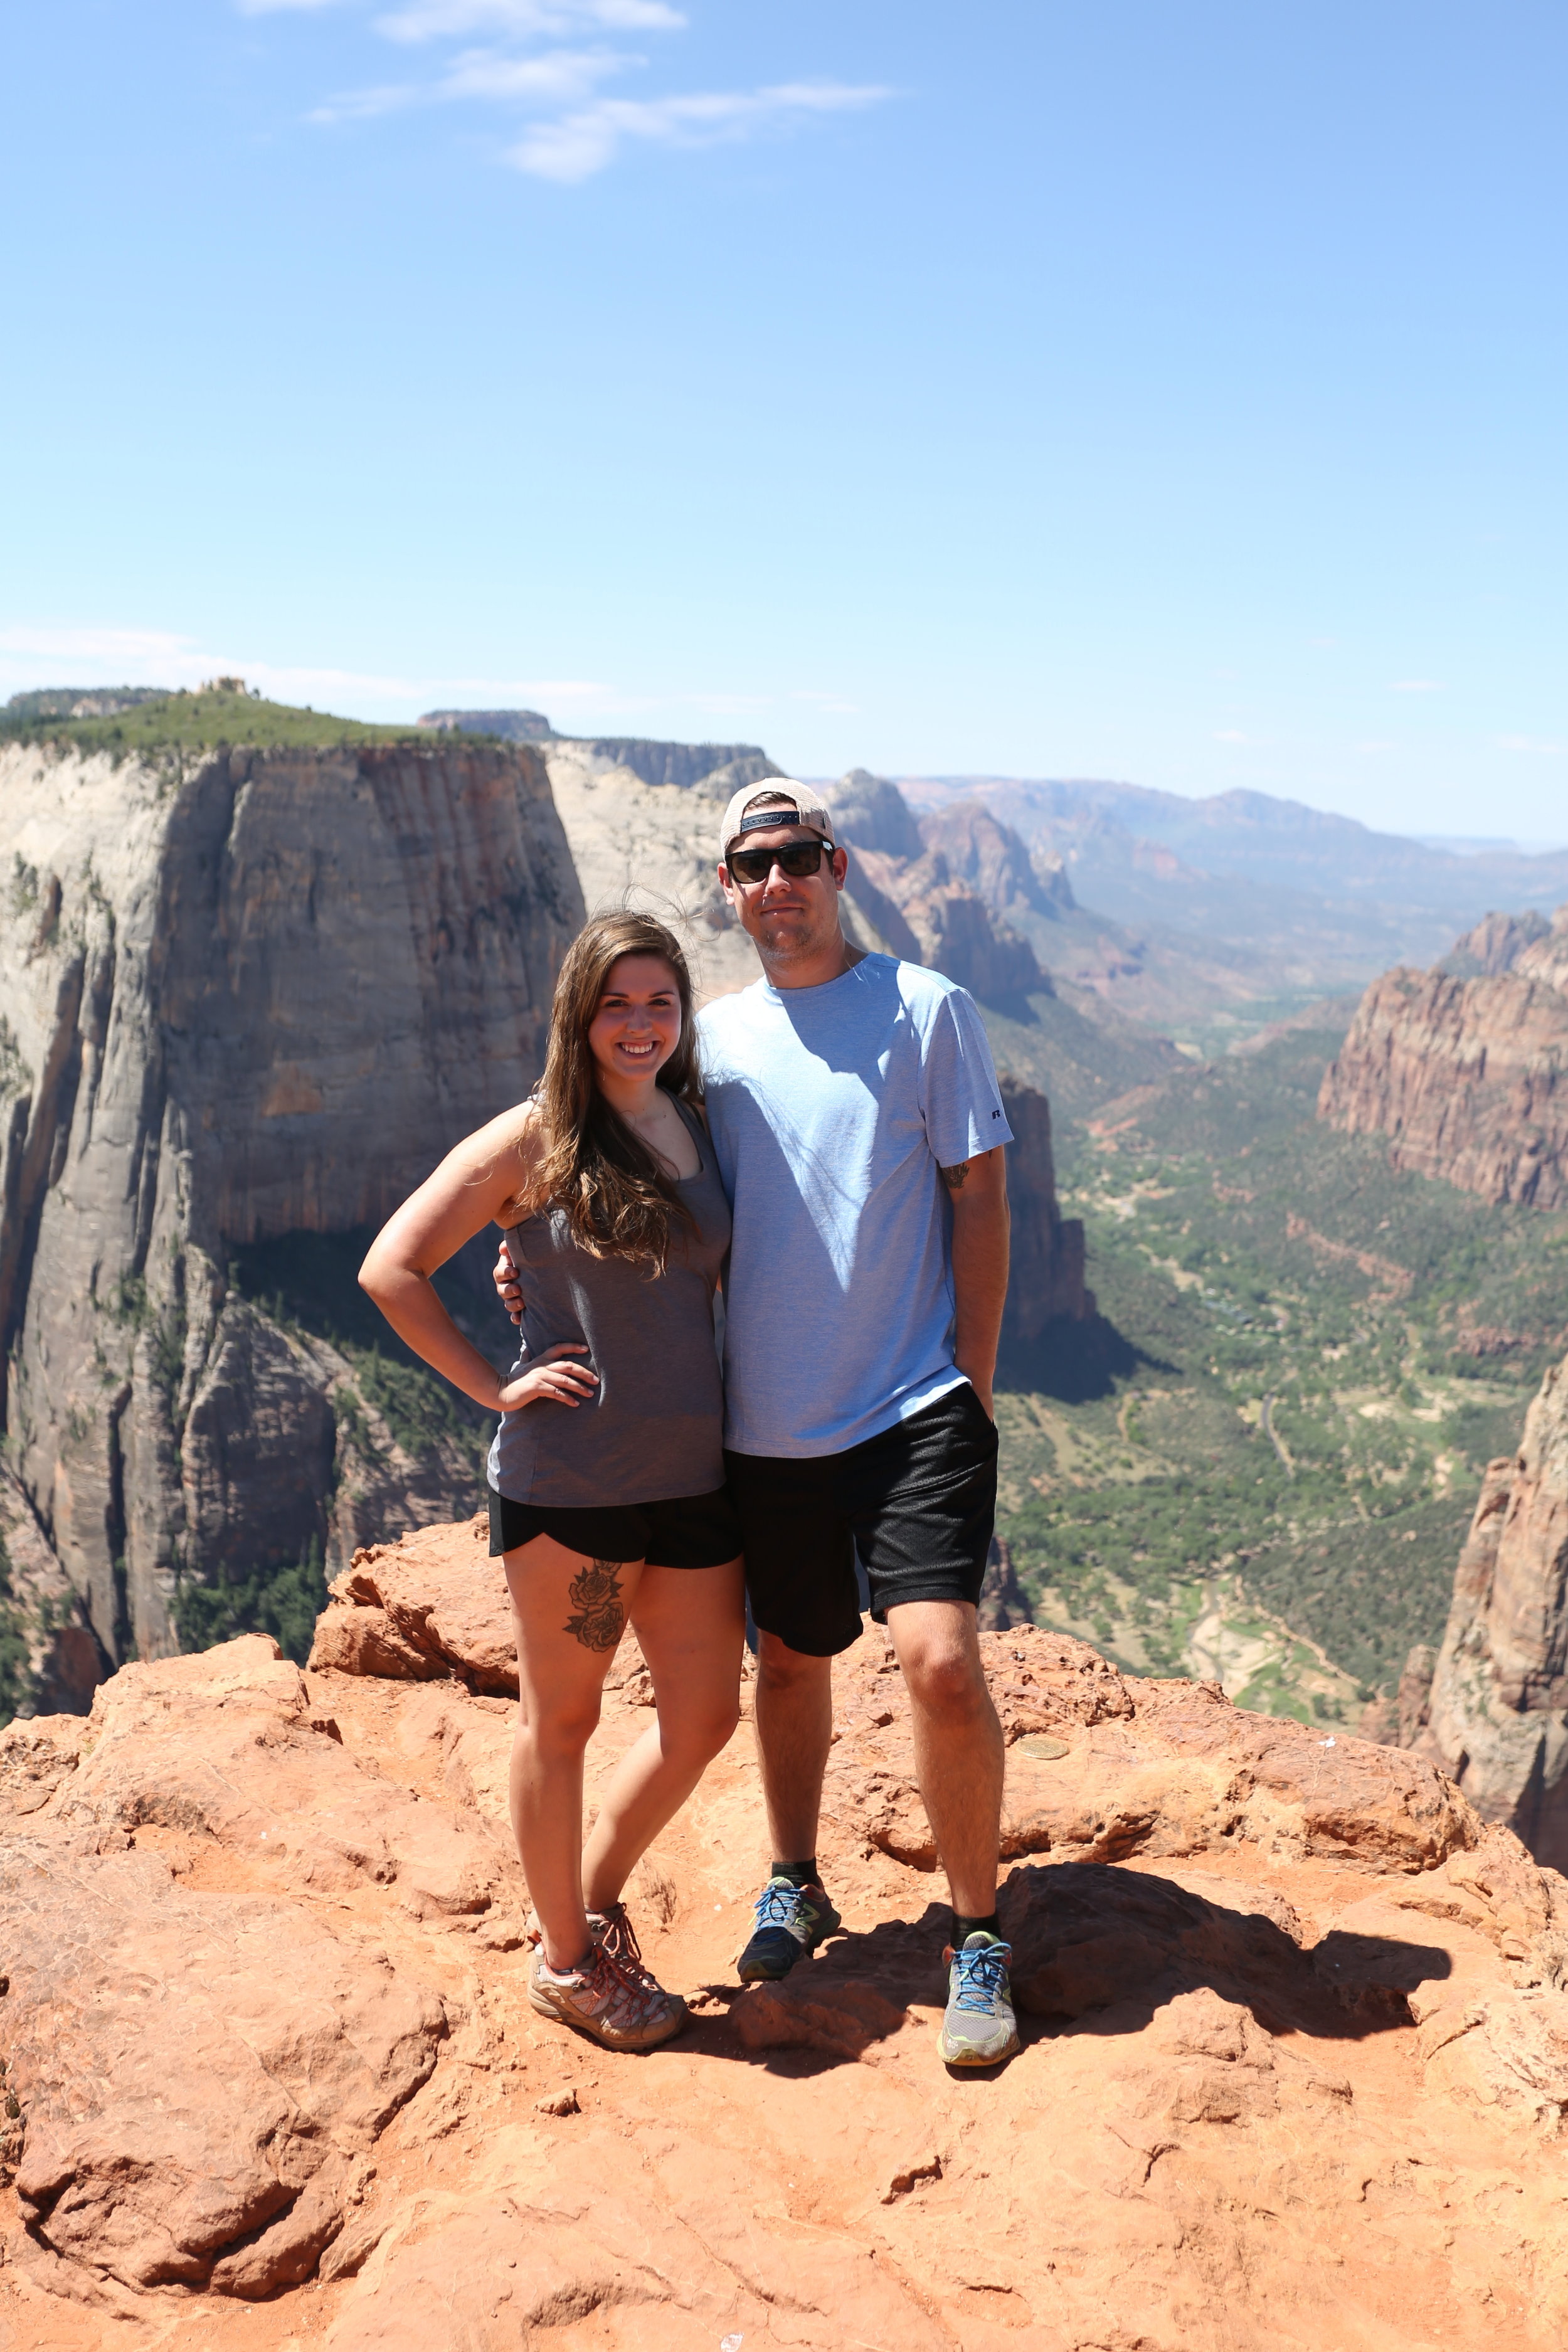
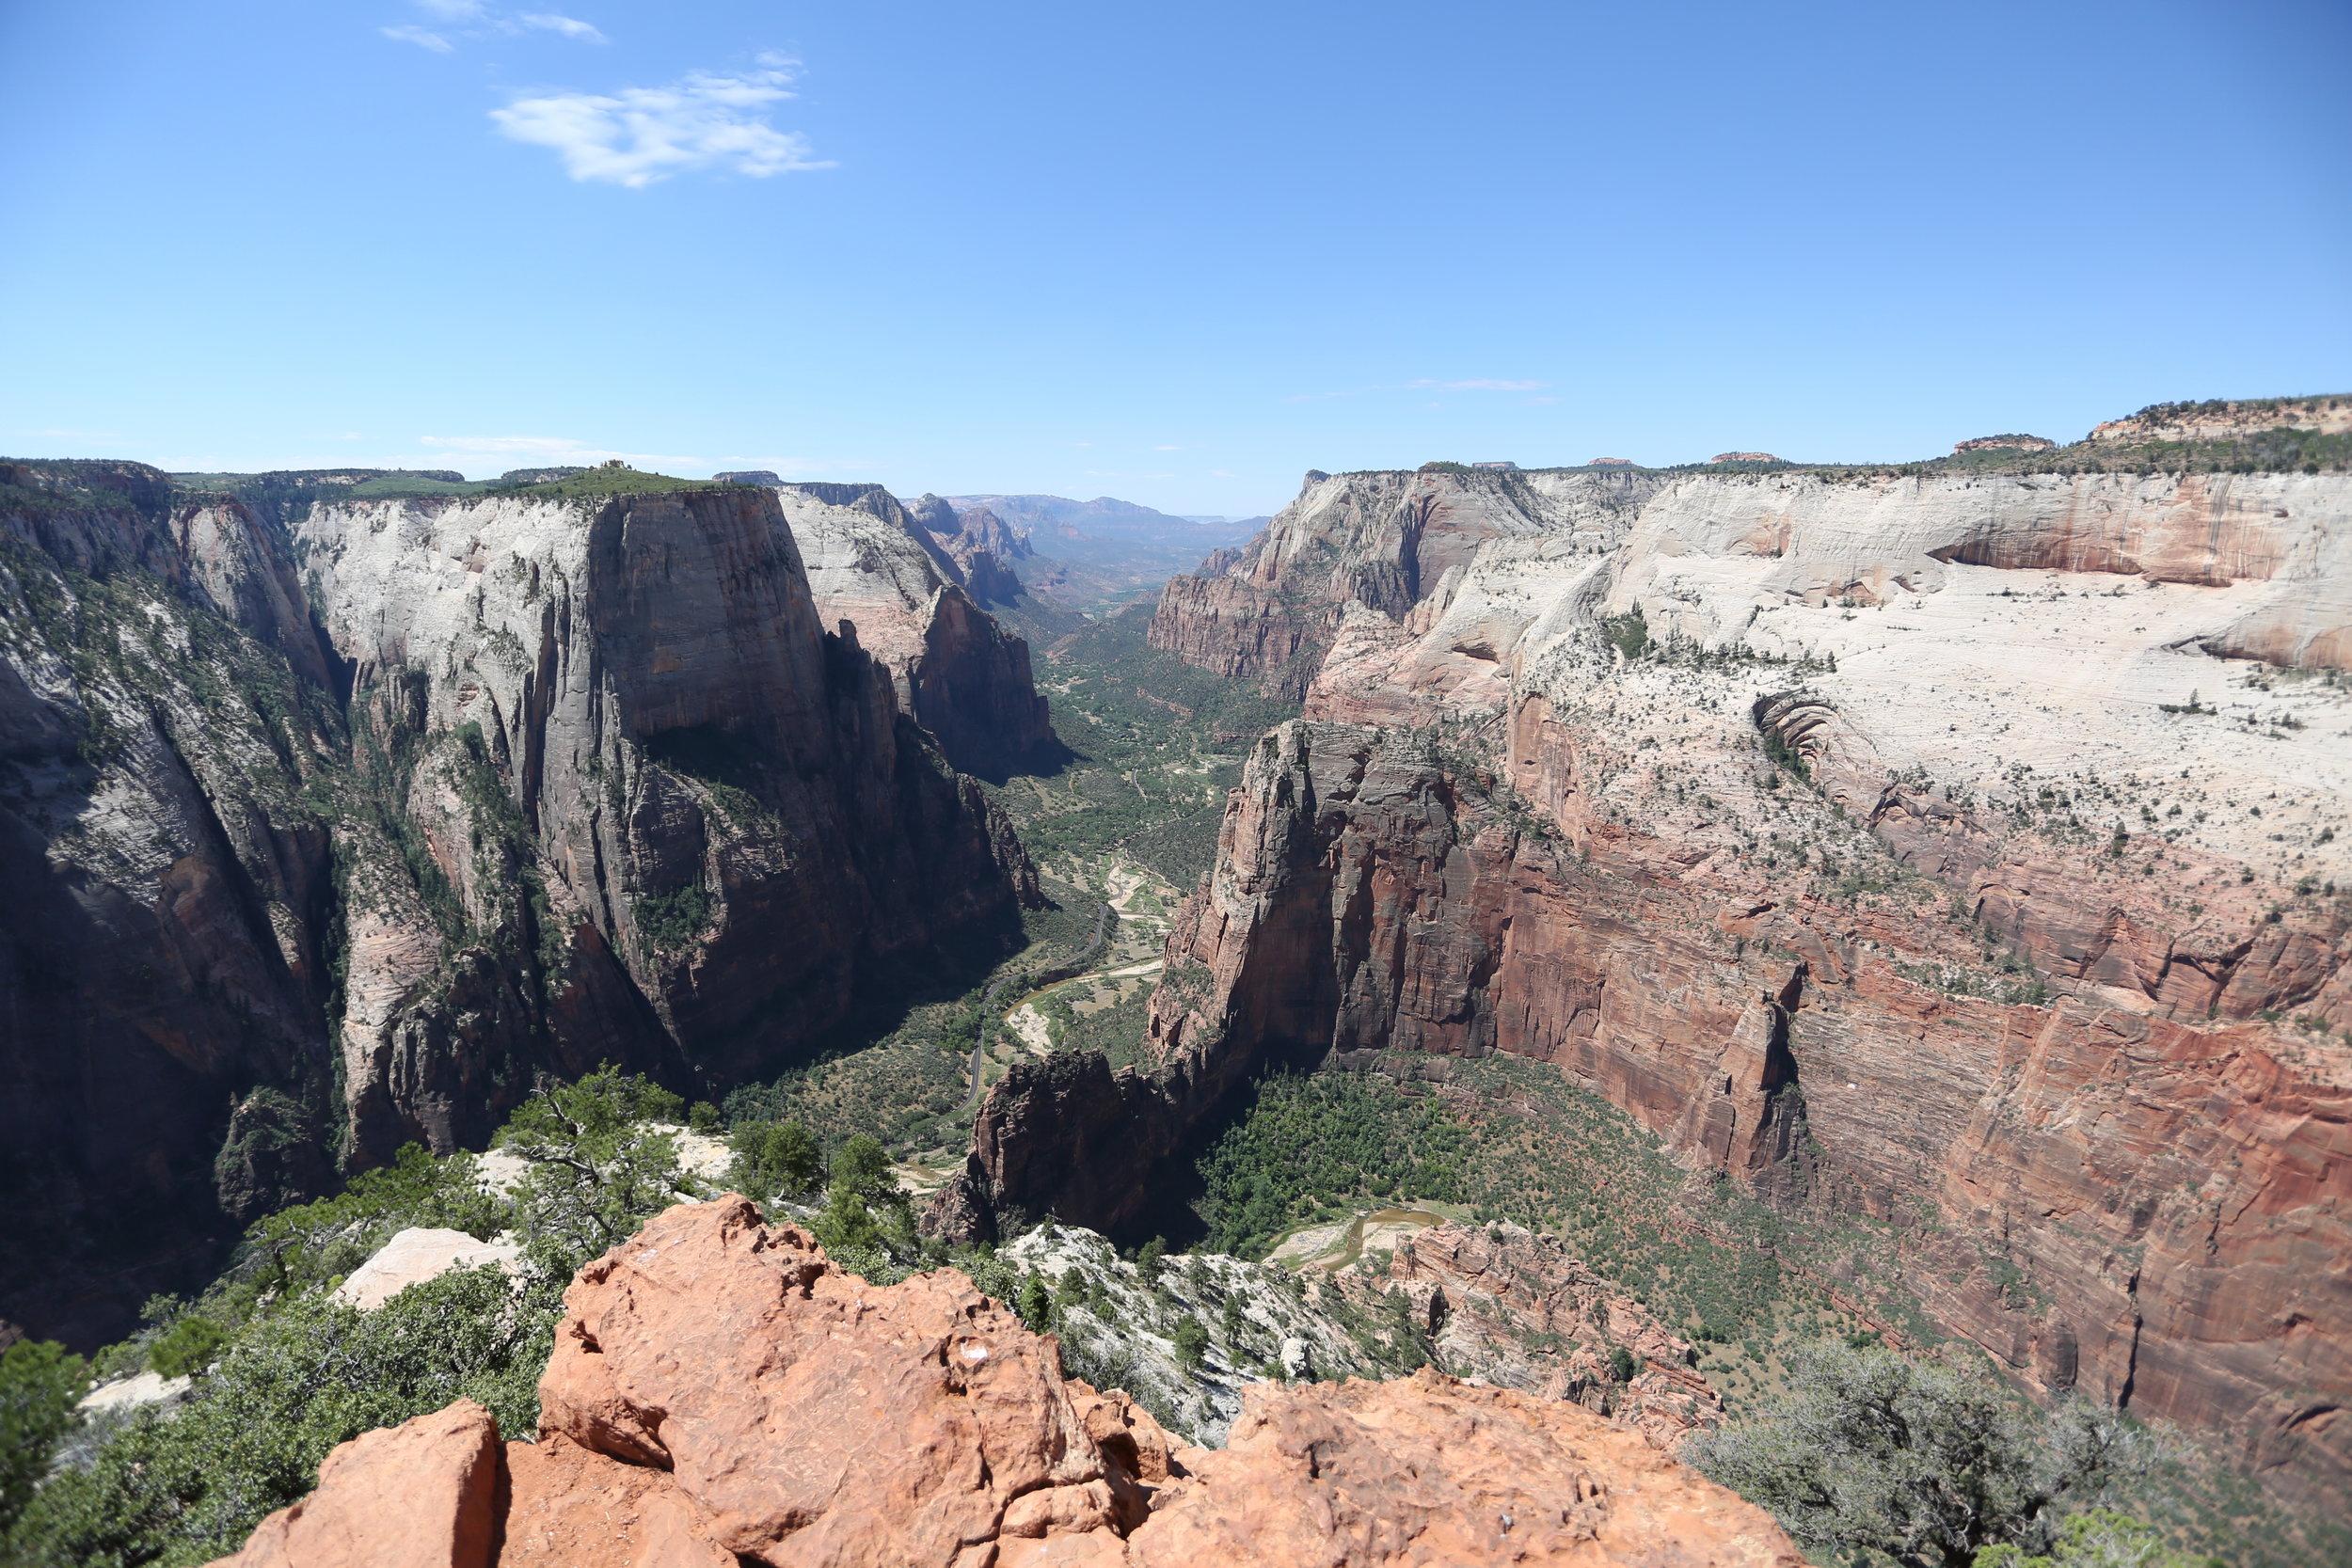
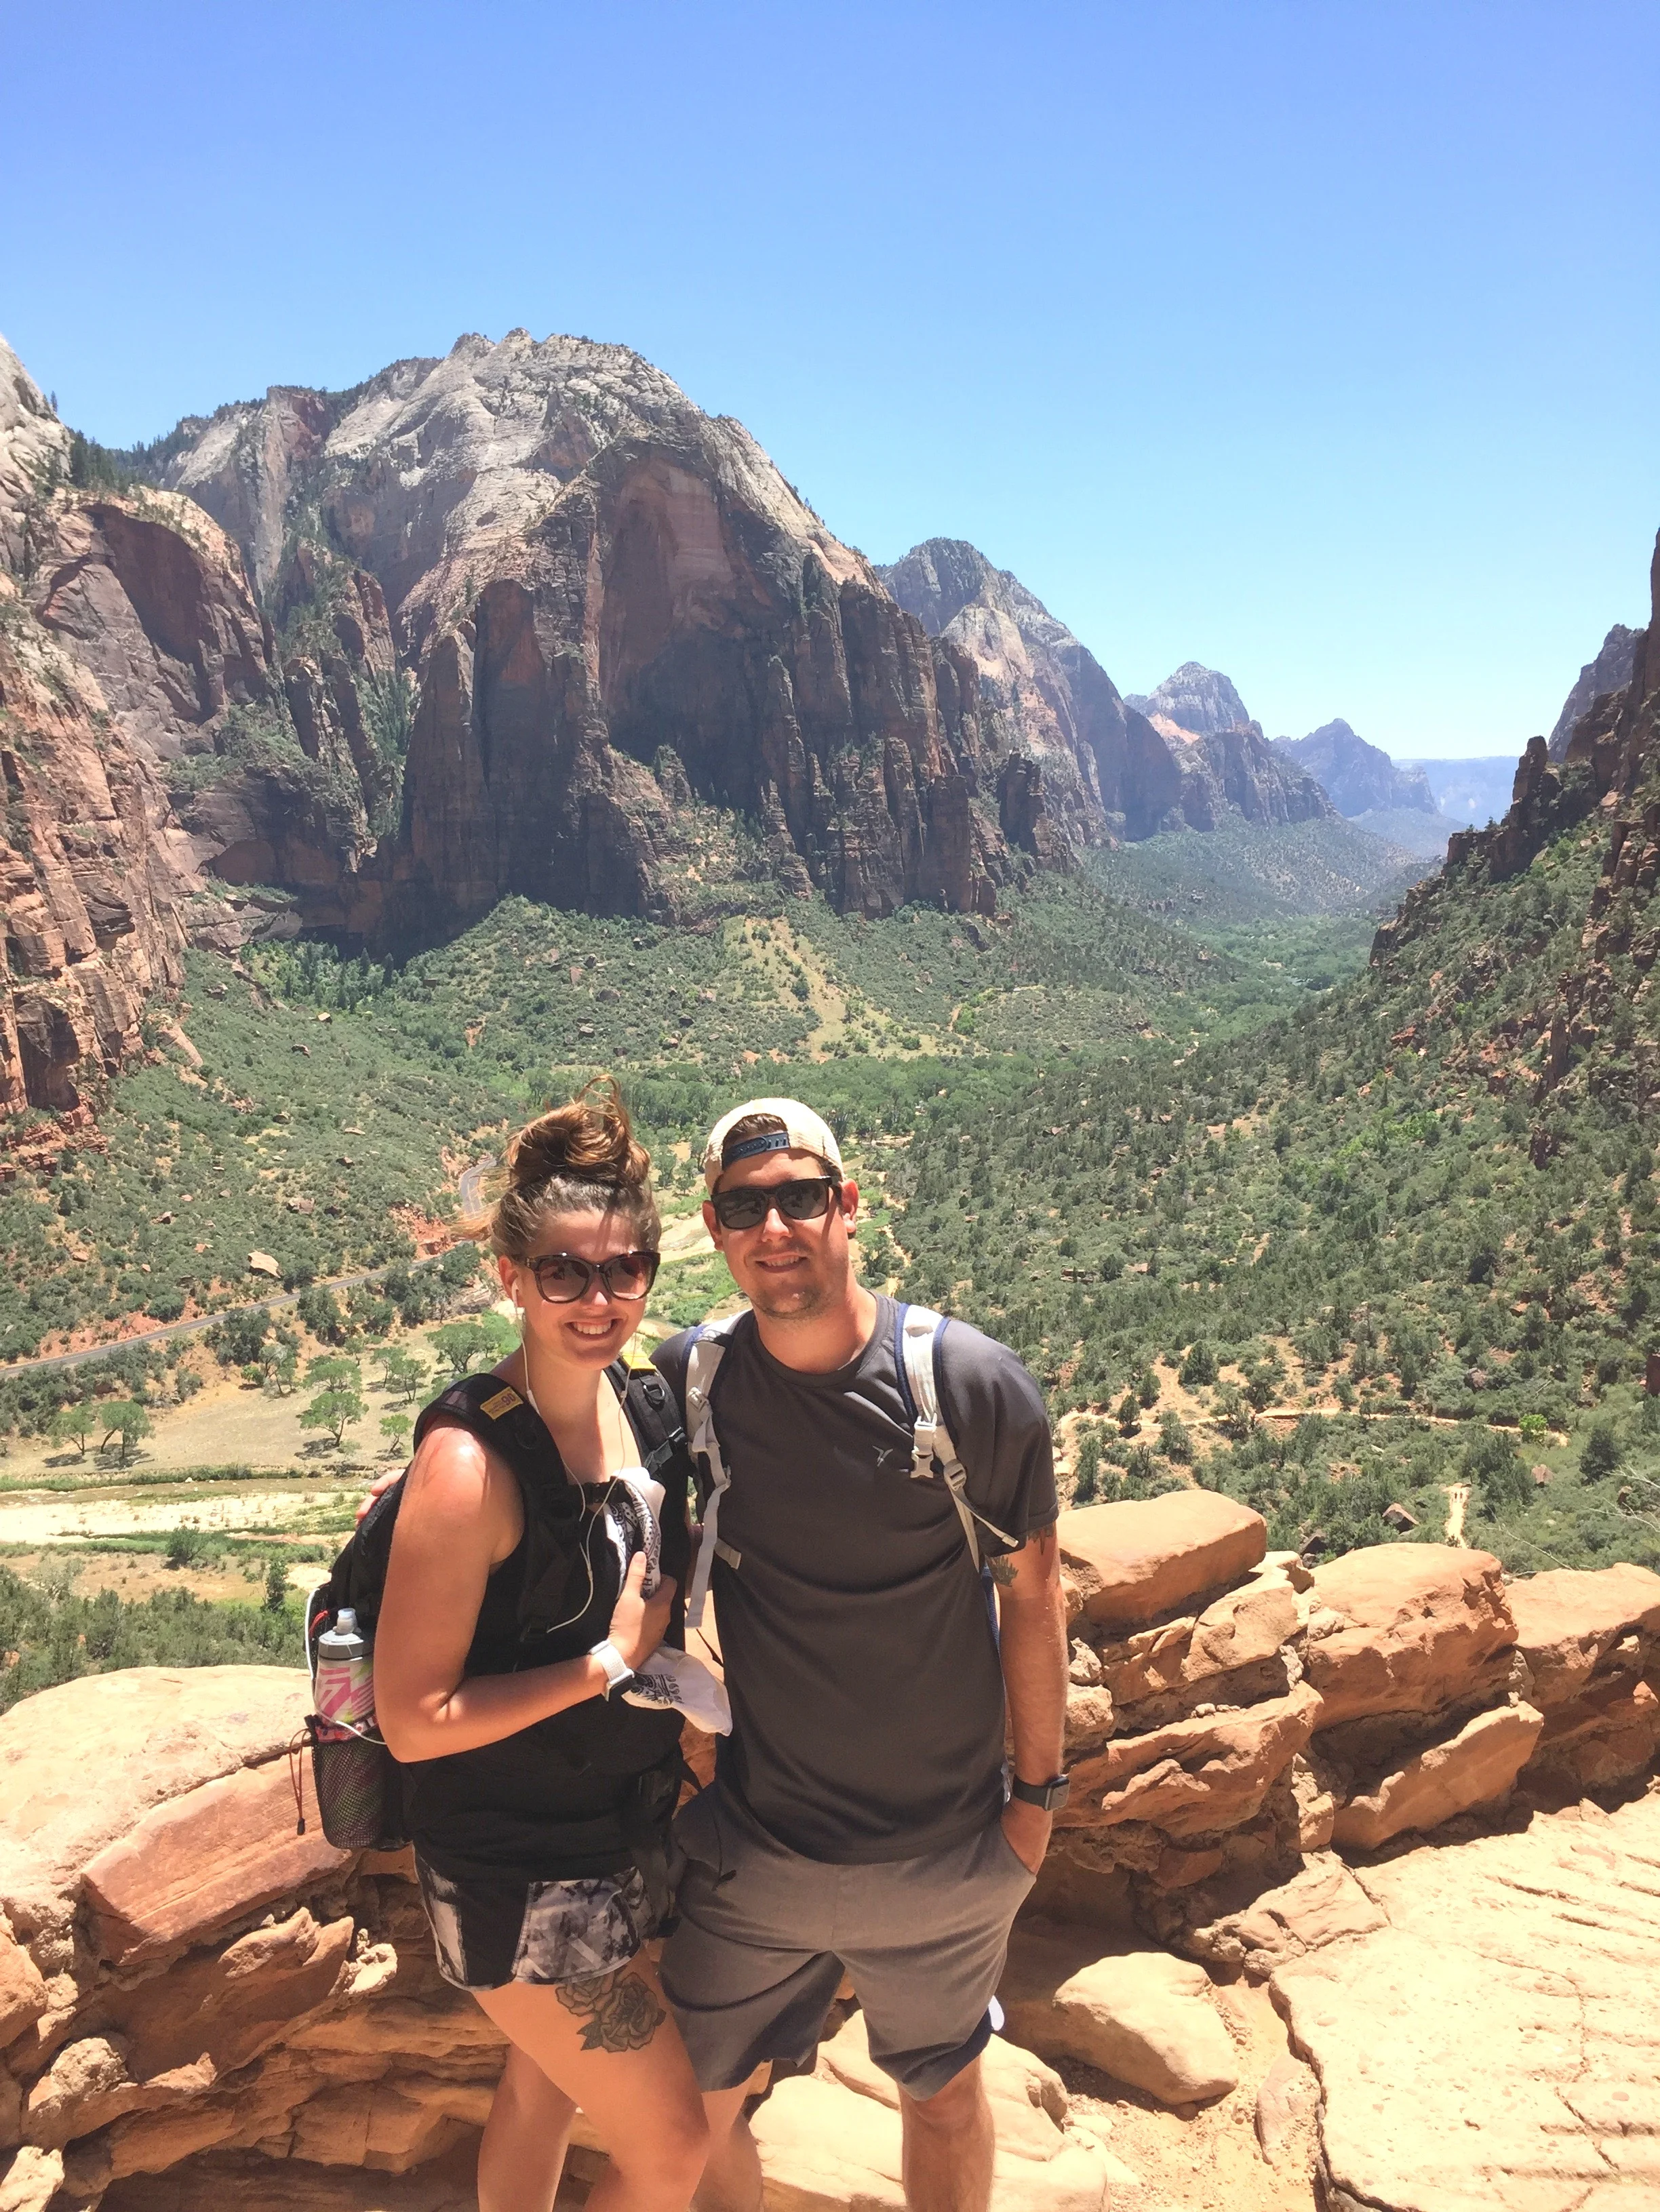
Before we even entered the park, we decided to do this trail to Observation Point via a private entrance due to the main trail being closed because of a rock slide (normally you would use the Shuttle and stop at the Weeping Rock Stop). I had emailed the park a week before to see if there was another way to get to it and they directed us to use the East Mesa Trail. This was a private entrance to the park, and we had to drive through a ranch to get there. The trail was not clearly marked but we made it to Observation Point and it was completely worth it. Later that day we hiked to the Lower Emerald Pool Trail since the Upper Emerald Pool Trail was also closed due to the same rock slide.
After this big day, we finally entered the park through the East Entrance so we could get to the South Entrance to check into our campground. Park entrance is $25 per vehicle and is good for 7 days. Permits are not needed for most day hikes (or any that we did), only if you are overnight wilderness camping, doing the top-down Narrows hike, or a day hike in the Subway.
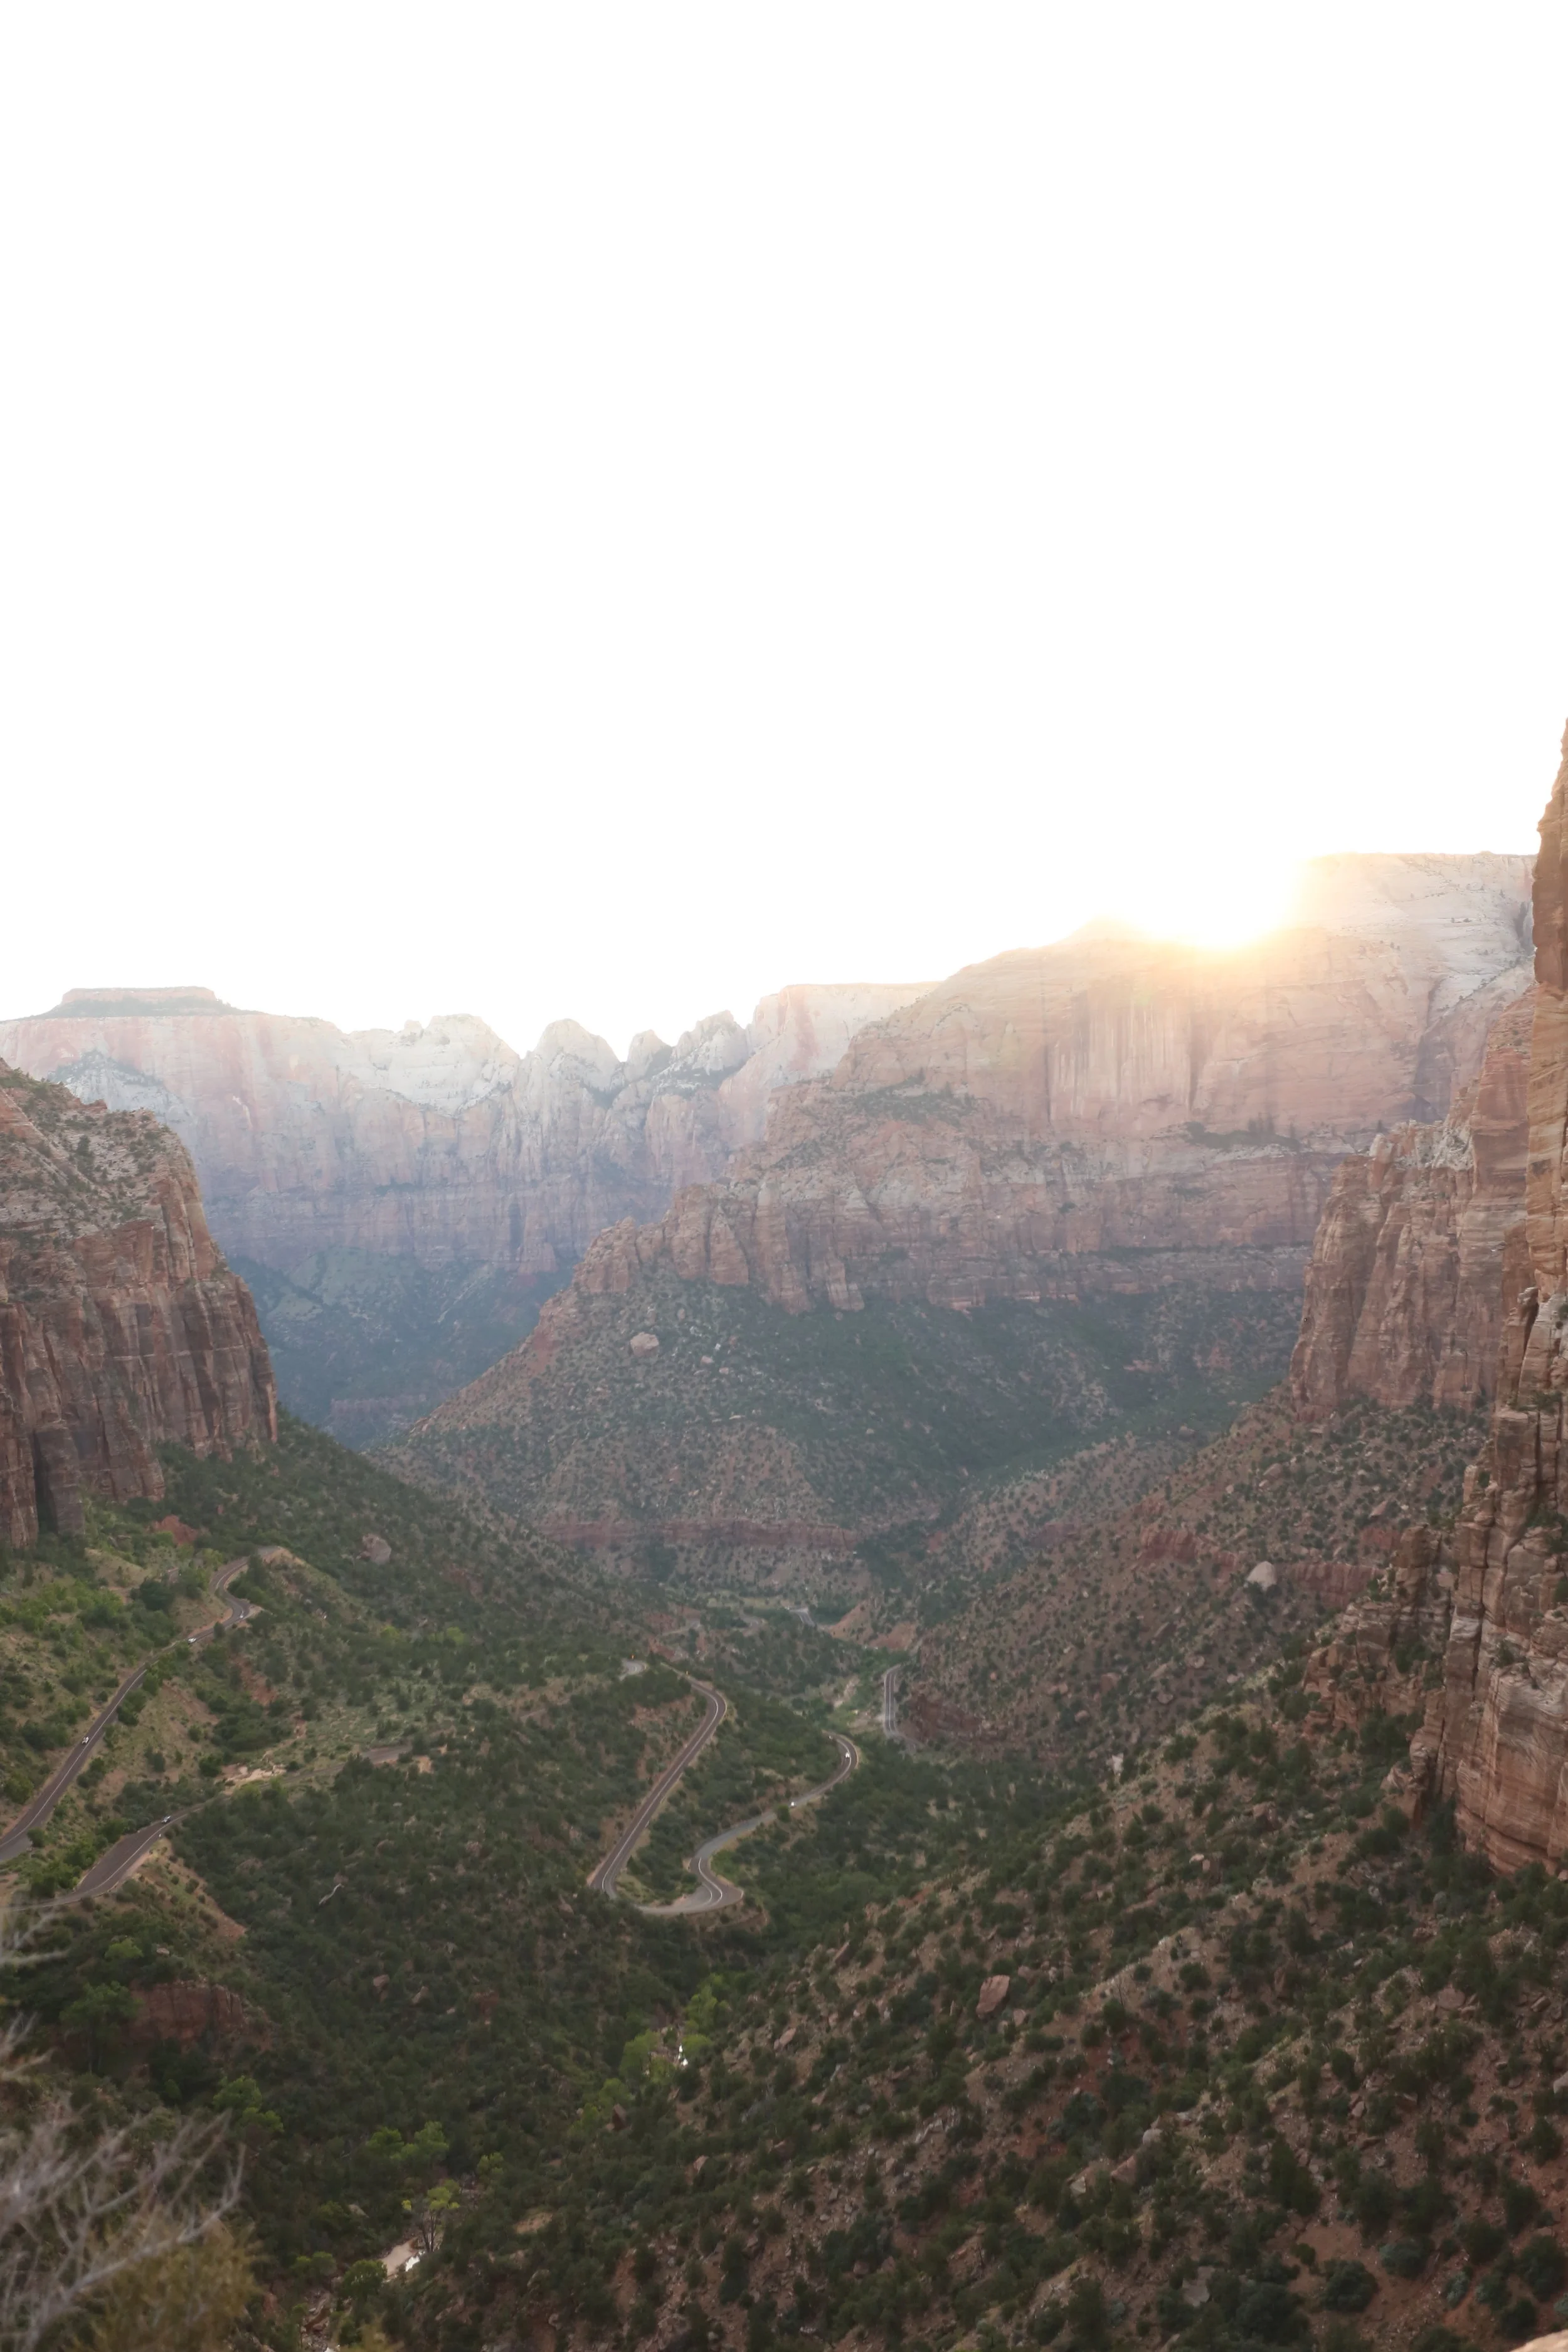
The only way to get from the East to South Entrance is to go through the mile long tunnel that’s carved into the rock called the Zion-Mount Carmel Highway. We weren’t prepared for how stunning this drive would be on the way to the tunnel and in fact we loved it so much that we drove through a second time on our last day! The Mad Hatter is well within the height and width requirements for vehicles to get through and drove through without a problem.
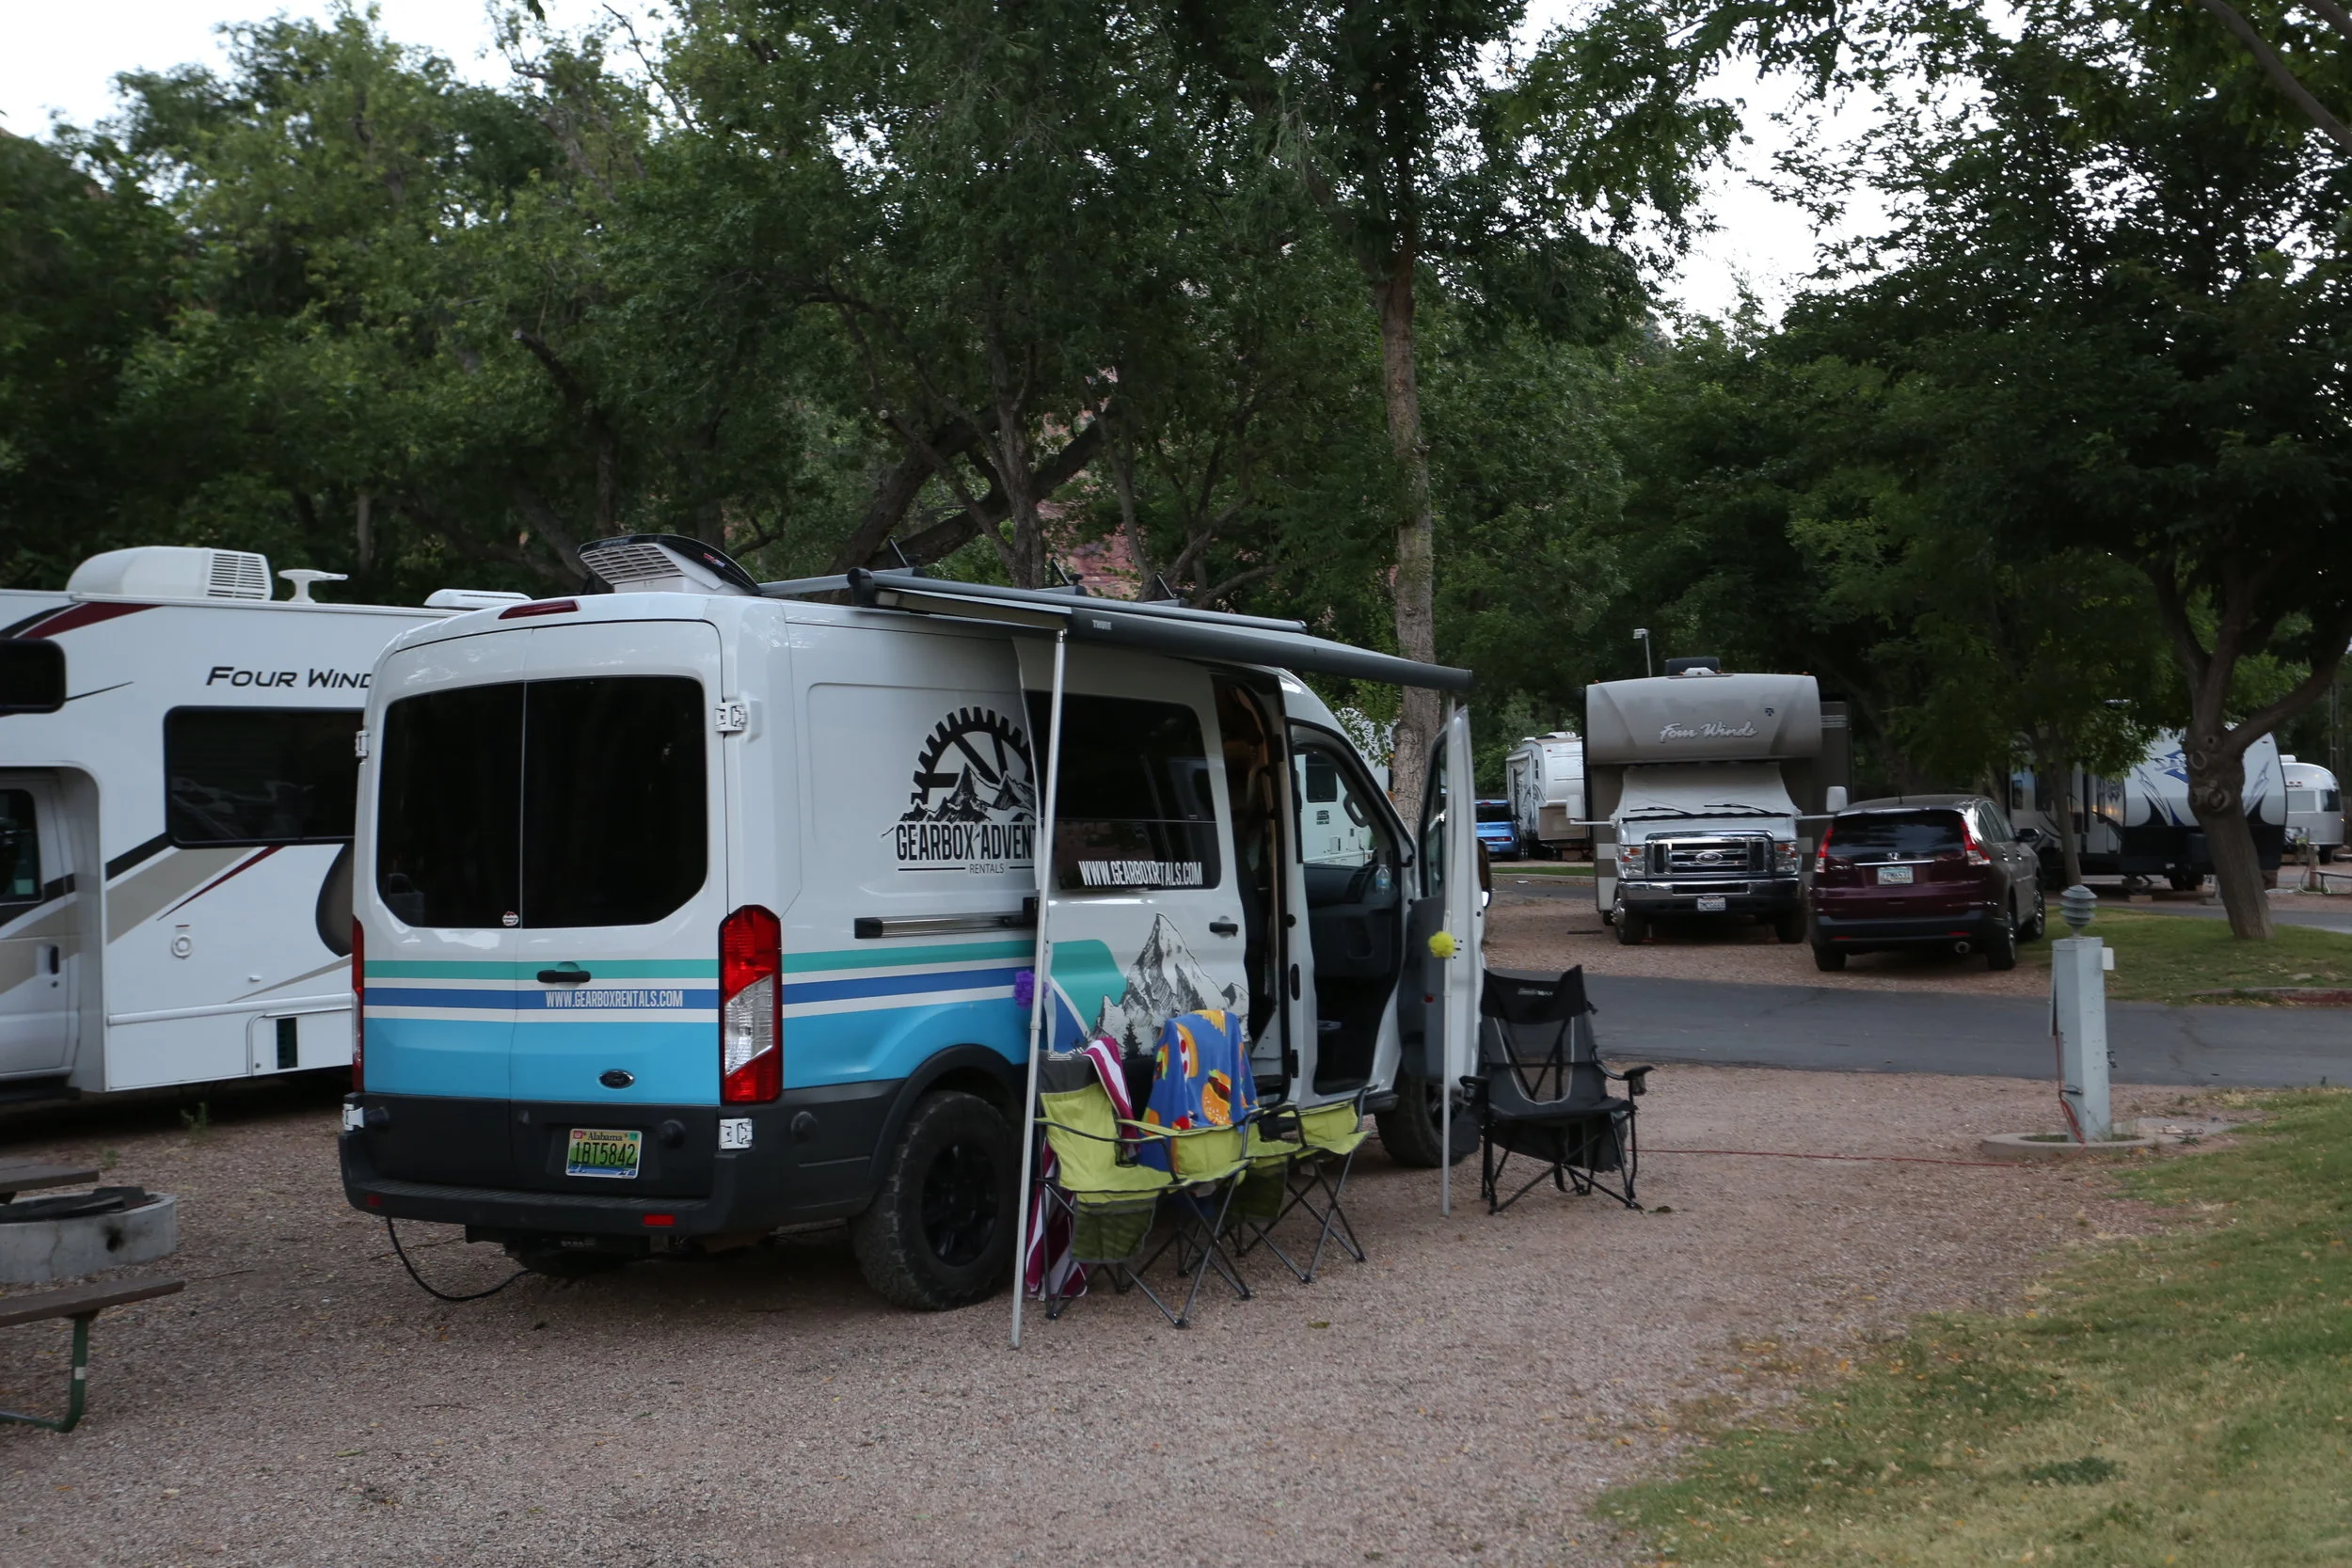
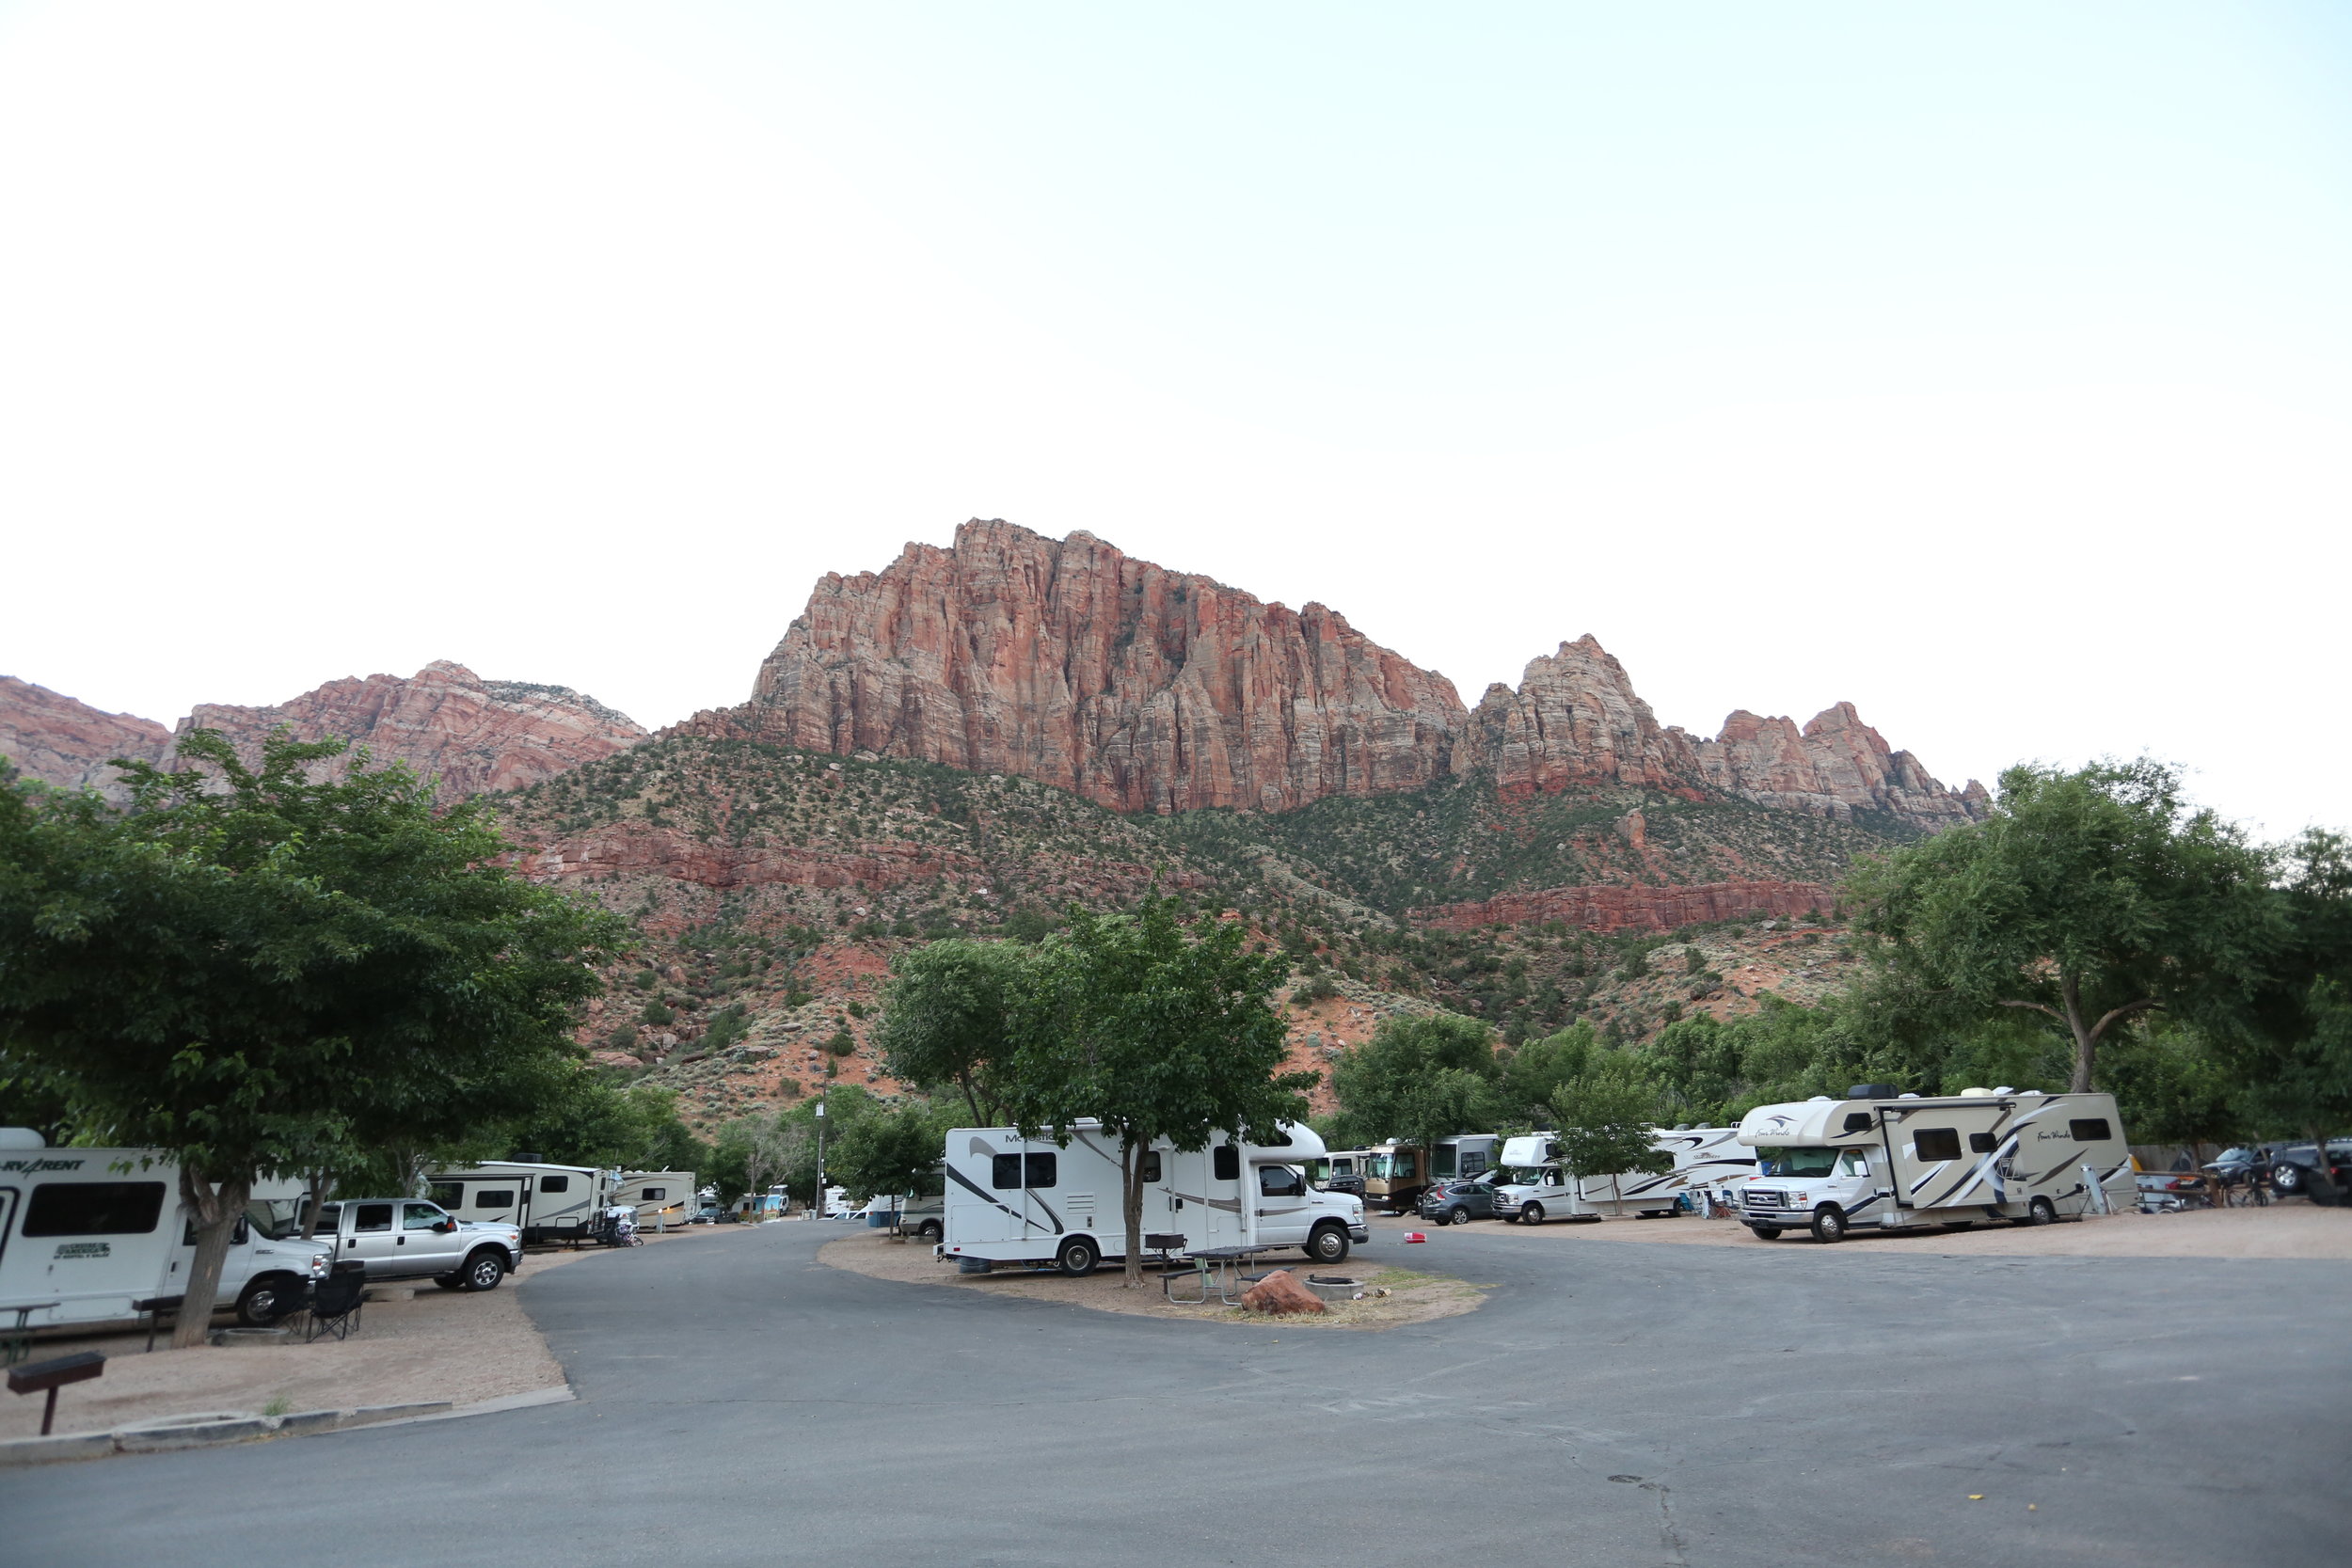
That evening we checked into our campground, Zion Canyon Campground which is less than a mile outside the south entrance to the park. It’s just feet away from the free Springdale shuttle and we were even able to walk into the park most days because it was so close. Highly recommend this campground! Unlike the campgrounds in the park, it has showers. If you can, snag a riverside site as they are the most sought after.
" Unlike the campgrounds in the park, the Zion Canyon Campground just outside the park has showers."
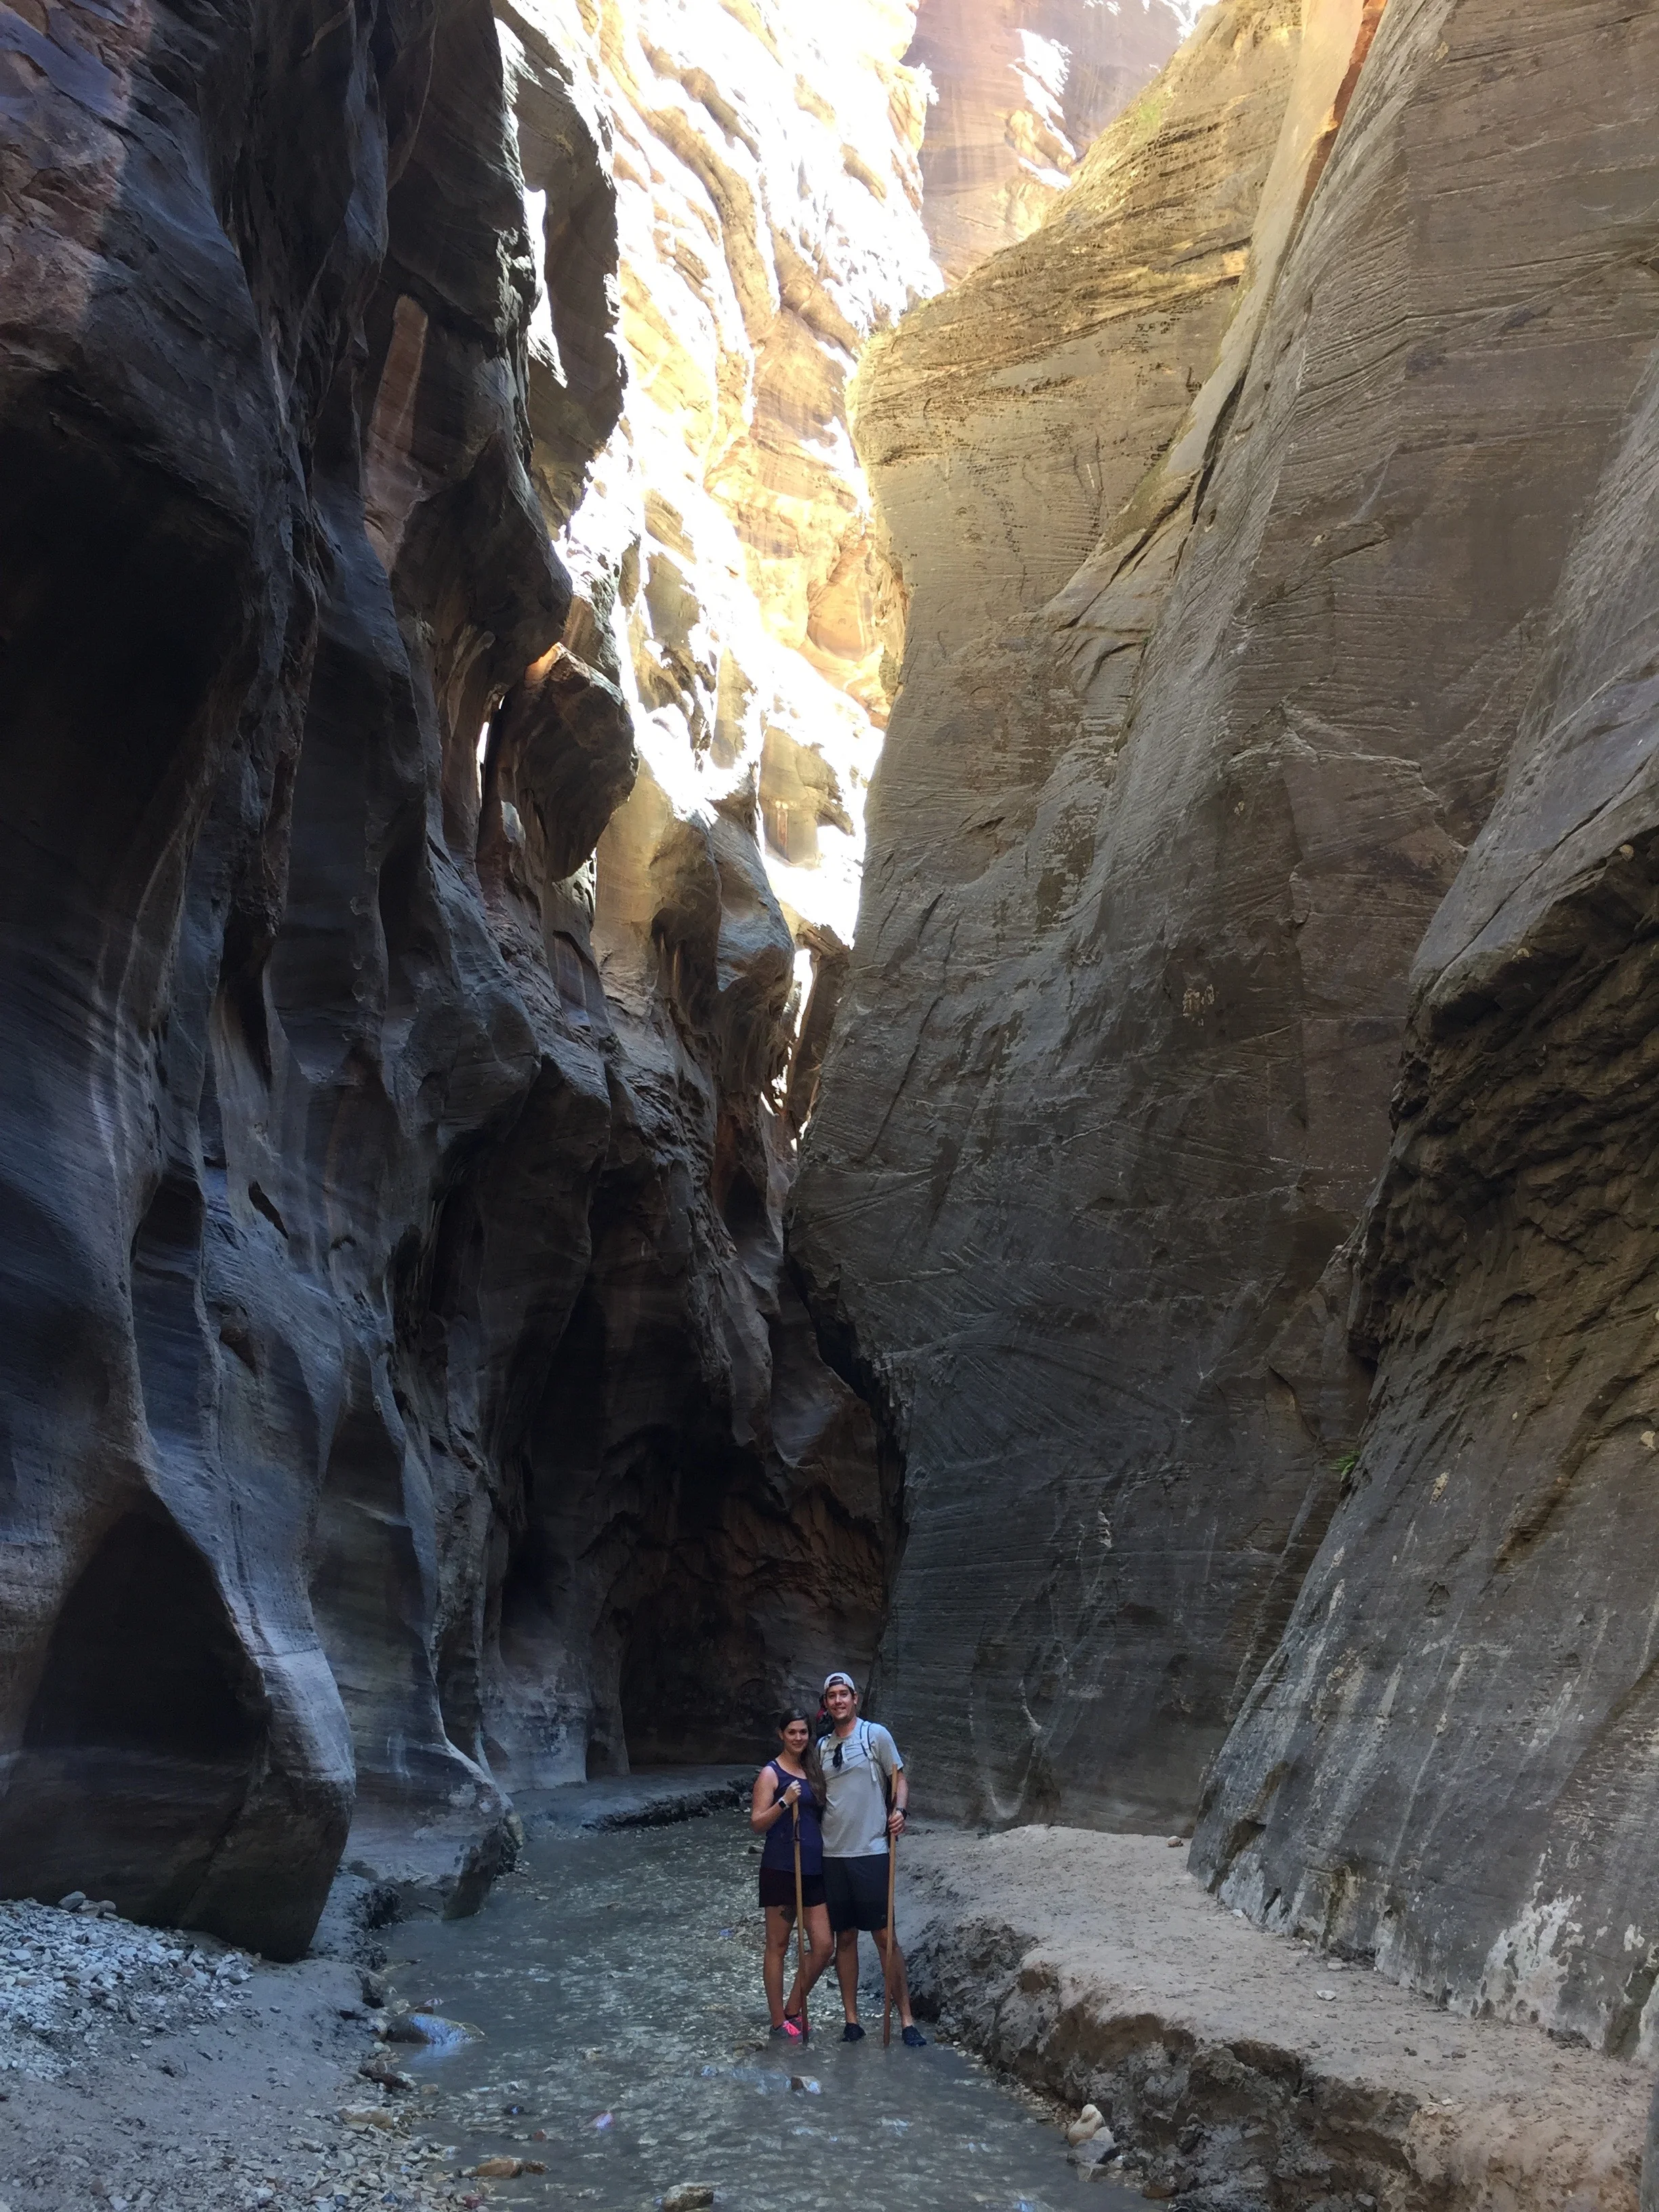
Day 4: Hike the Narrows
ZNP Shuttle Stop: Temple of Sinawava
Length: 2.2 miles +
Elevation Gain: 60 feet
Difficulty: depends how far you go…
This day, we hiked the Narrows and made it all the way to Wall Street which is where the river splits. We heard the need to make it that far because the slot canyon walls are the highest and most stunning there—and it was SO WORTH IT. Gorgeous! This ended up taking 6-8 hours and we were so tired by the end of it after fighting the current that we gladly took the evening to chill at the campground. Our campsite actually faced a huge rock formation so it still felt like we were in the park, and the Virgin River runs right next to the campground so we hopped in it during the hotter part of the day.
Day 5: (Part 1) Hike Scout’s Lookout
ZNP Shuttle Stop: the Grotto
Length: 4 miles roundtrip
Elevation Gain: 1100 feet
Difficulty: Moderate
This trail ended up being way harder than we expected because we did it in the heat of the day. It was about 103 degrees when we ended this hike and there was very little shade. It really took a lot out of us.
”If you could find a cooler day or do it early in the morning, Scout’s Lookout has incredible views similar to Angels Landing, without the scrambling on an exposed, cliffy ridge.”
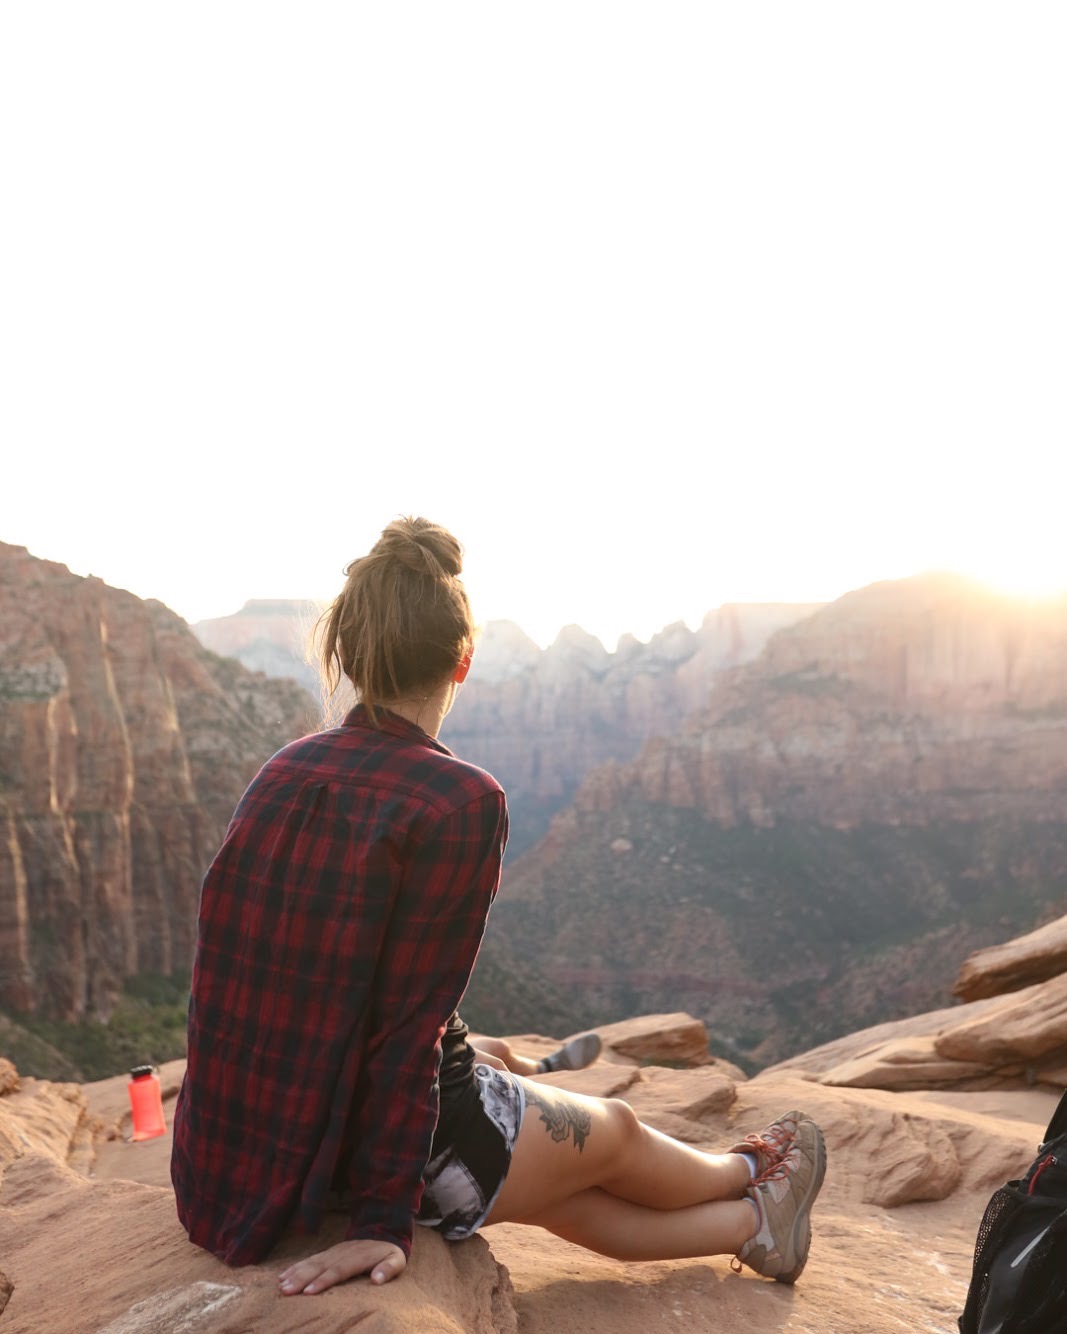
Day 5: (Part 2) Hike Canyon Overlook Trail
Trailhead: Canyon Overlook Trailhead
Length: 1 mile roundtrip
Elevation Gain: 150 feet
Difficulty: Easy
This short, half-mile trail wanders around the cliffs above the slot canyon worn by Pine Creek. We ended the day with sunset here, and it could not have been a better ending to our time in the park.
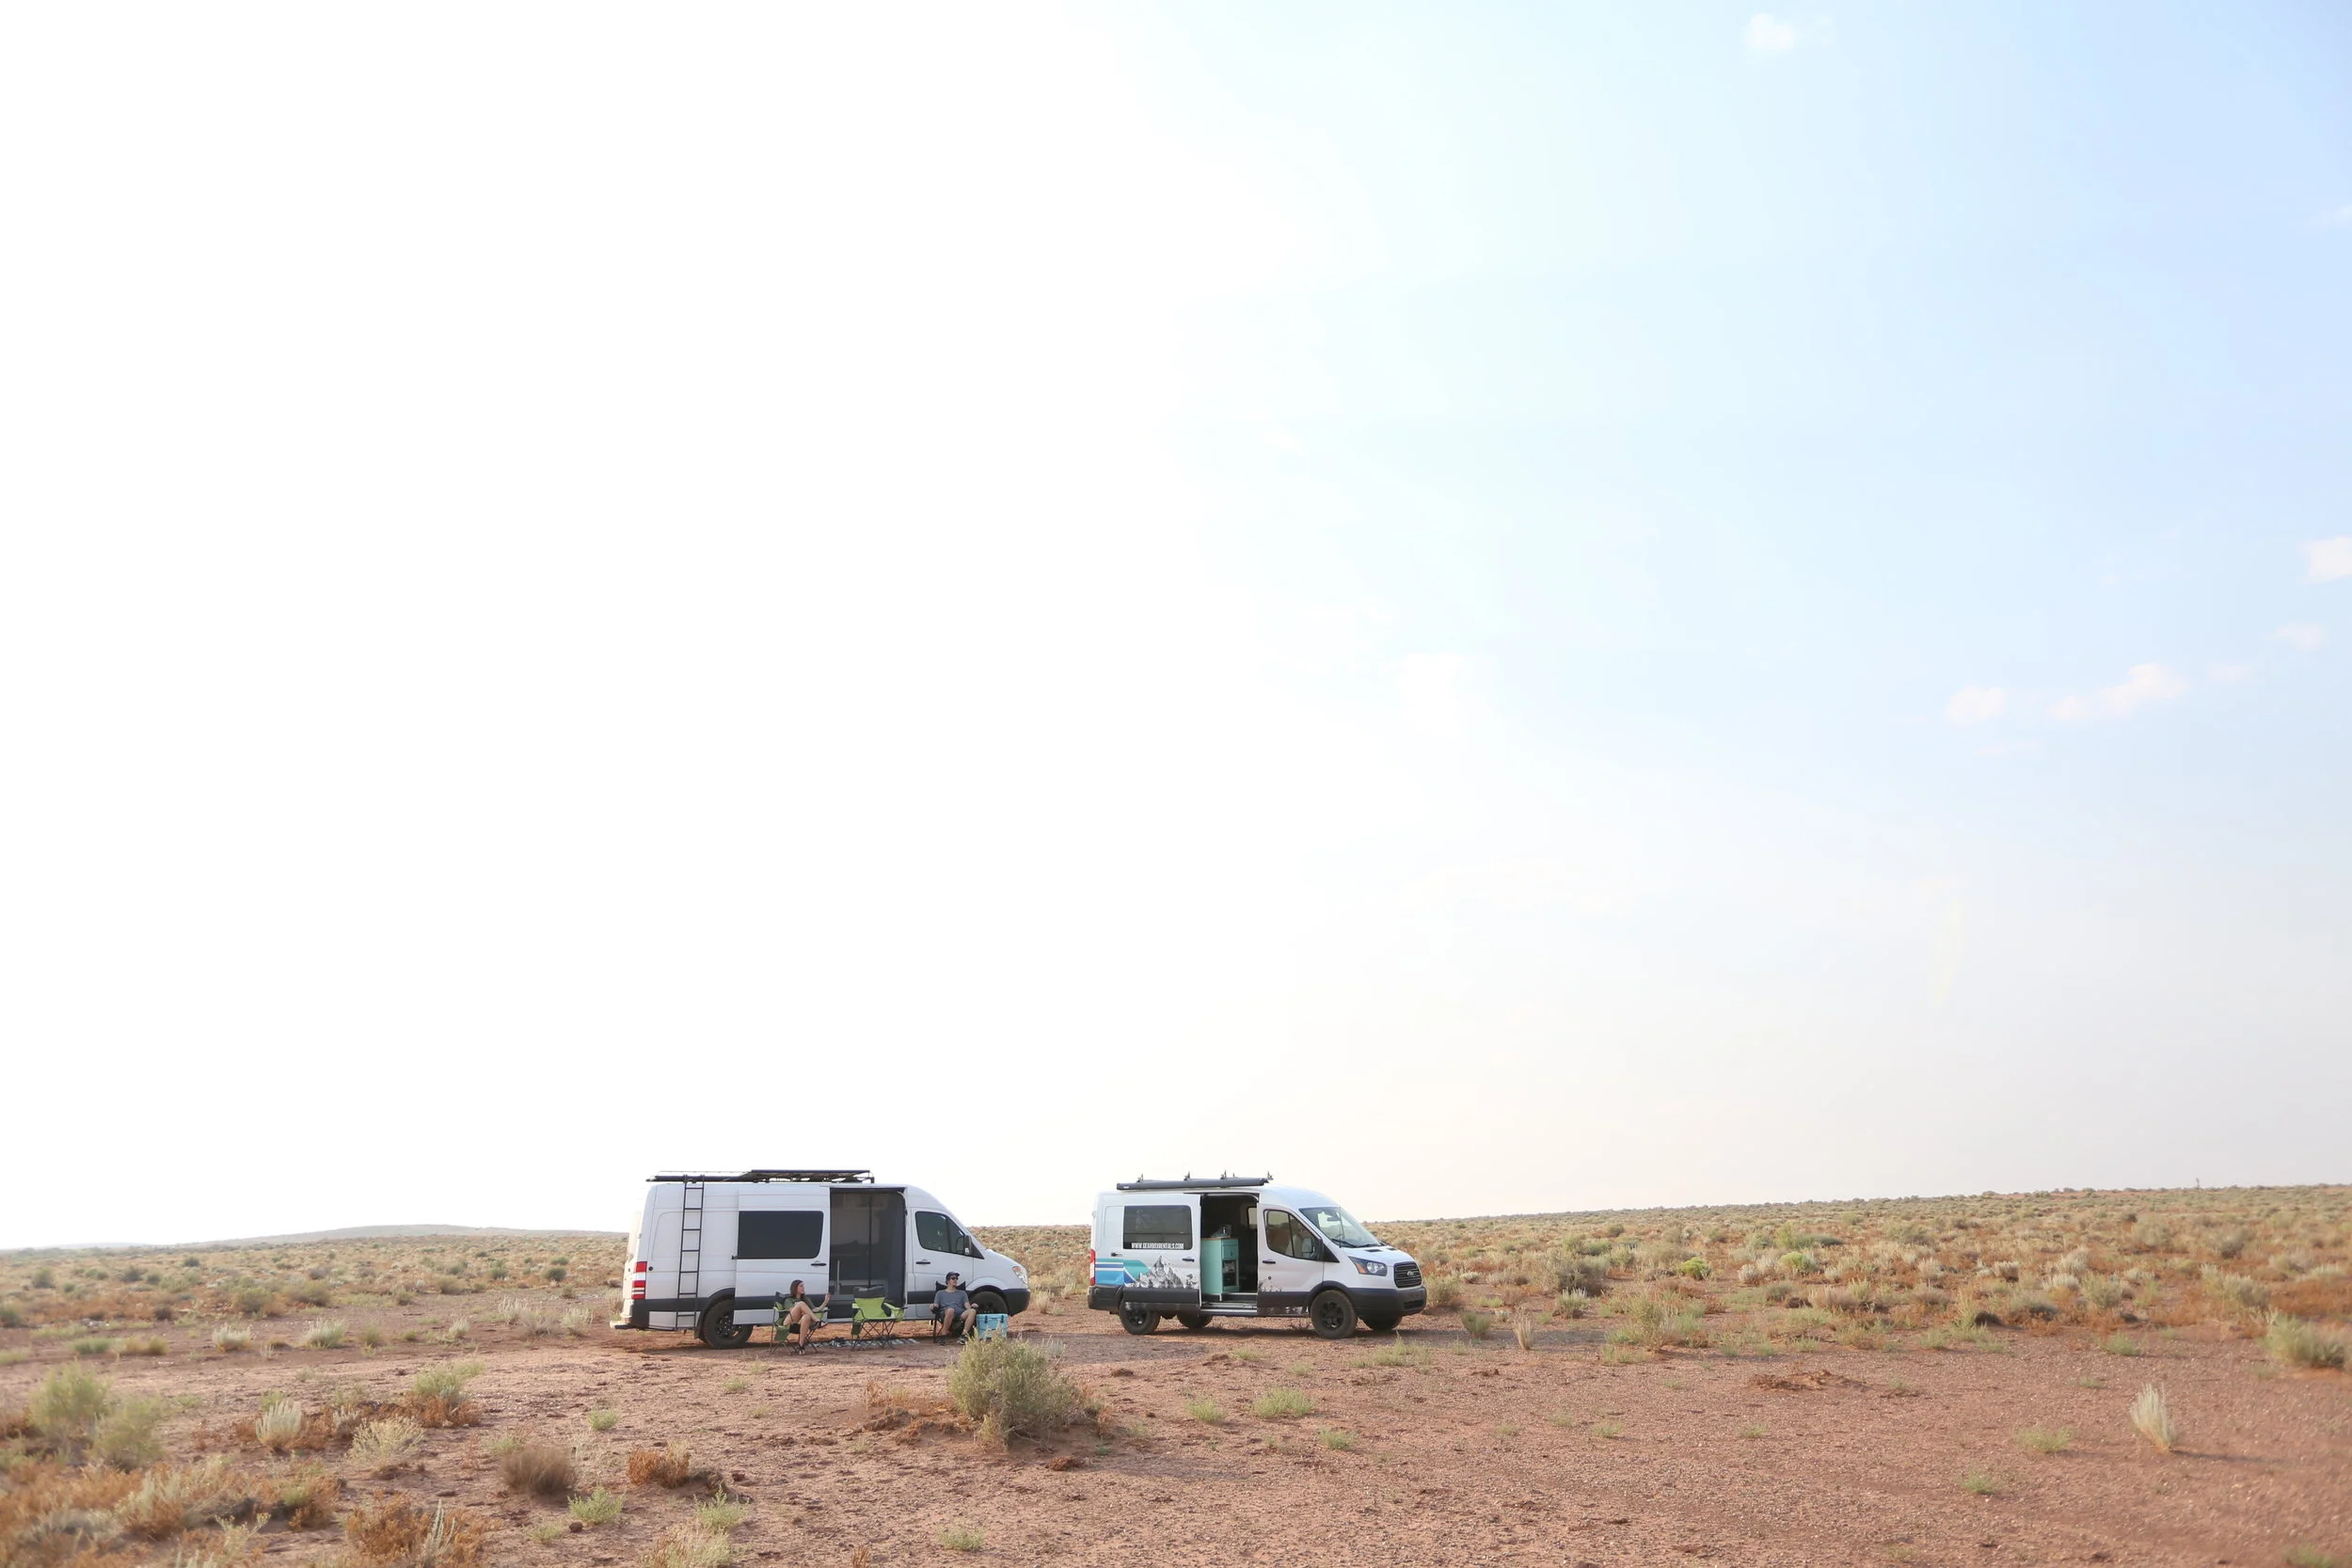
Day 6: Camp in Holbrook, Arizona
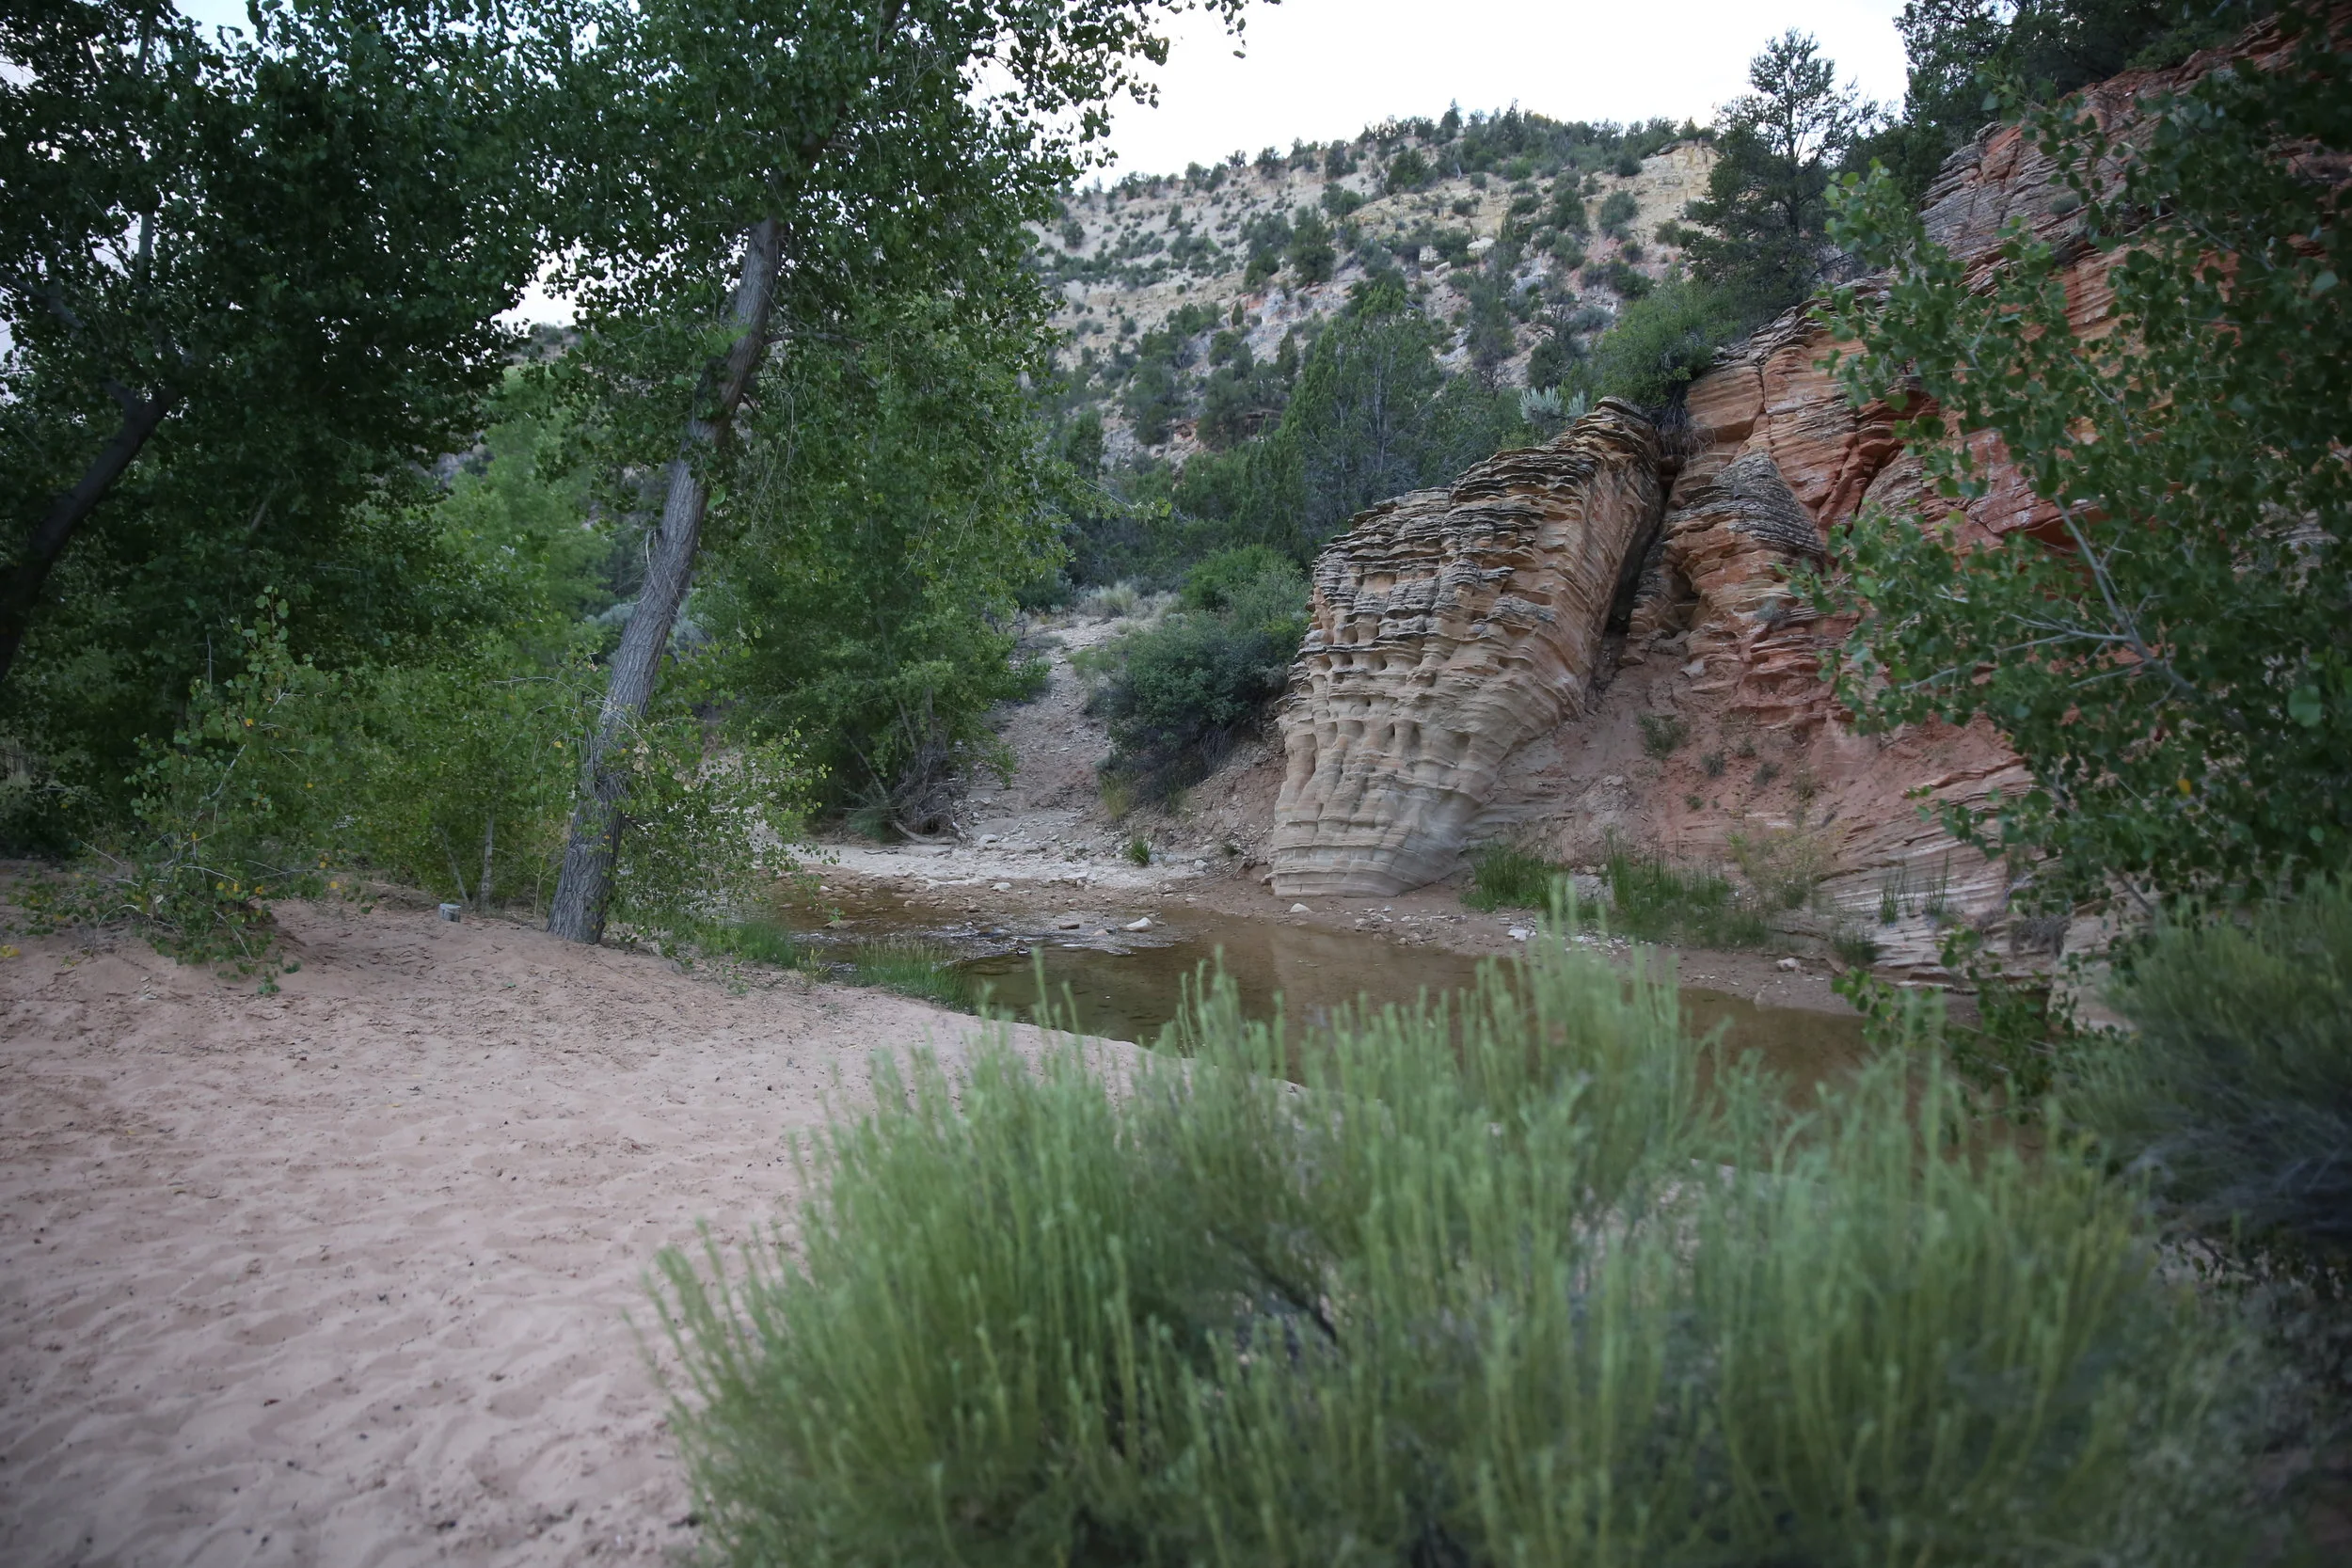
After leaving the park, Alex really wanted to camp in the middle of the desert, so with the iOverlander app we found a place in Holbrook, Arizona that was on our route home. WOW we are so glad we did this. It was wild, quiet, and fabulous to be far out in the middle of nowhere. The sunset was incredible and unobstructed.
Day 7 and 8: Finished over two days by driving the 20 hours home, staying the night in between in a Love’s parking lot in Oklahoma.
What difficulties did you face living on the road, and how did you overcome them?
We love tent camping so this was honestly a major upgrade for us. Sure, there were limited chances to shower on our travel days but we took plenty of showers once we got to the campground to compensate. It was honestly a nice change of pace to wake up in so many random places along our route. We really had no complaints.
What would you do differently next time?
Without a doubt, we would want to find a way to take a 2 week trip!
What is your next big adventure you have planned?
We really hope to do the Pacific North West, including Mount Rainier National Park and Olympic National Park!